
 English
 Français
 Español

Home / News / Industry News / How Should Oversize Packages Be Arranged in Your Vehicle? A Driver's Sorting Guide
How Should Oversize Packages Be Arranged in Your Vehicle? A Driver's Sorting Guide
2026-08-28
Arrange oversize packages by the driver aid number printed on the sort assist label, with the label facing the aisle so the sequence stays readable without lifting anything. If your route app groups stops into zones, sort oversize packages by the sort zone letter first, then by the driver aid number within each zone. The physical rules stay the same in every vehicle: oversize packages ride on the floor, the heaviest item sits lowest against a fixed reference point such as the bulkhead, and everything is loaded in reverse stop order so the package for your first oversize stop comes out first, with no digging required.
That answer sounds mechanical until you run a full route with it. A typical suburban route carries 150 to 200 stops, and 10 to 30 of those packages are too tall, too long, or too heavy to shelve. When those boxes go into the vehicle out of sequence, you lose roughly 30 to 60 seconds at every stop where the next package is buried under three others. Across a 40-stop afternoon, that is 20 to 40 minutes of lifting, re-stacking, and crawling around the cargo area — often the difference between finishing in daylight and finishing after dark.
This guide approaches the question from the load-securement side of the problem. We manufacture ratchet straps, cargo nets, cargo bars, and the tie-down hardware that goes with them, and a large share of the freight those products protect starts its journey stacked loosely in the back of a van or SUV. What follows is the arrangement system experienced drivers actually use, the physics of why unsecured stacks fail, and the securing equipment that keeps a full day of oversize packages from turning into a jumbled pile by stop twelve.
The Short Answer in Practice: Driver Aid Number, Zone Letter, Reverse-Stop Loading
The sort assist label on each package carries a barcode and a short sequence number — the driver aid number — that matches the order stops appear on your route. When a routing system divides a route into geographic groups, the label also carries a sort zone letter. Zone A is usually the first cluster of stops you will drive, zone B the next, and so on. Both markings describe the same principle: position inside the vehicle follows the route sequence, not the size of the box.
Oversize packages complicate that principle because they cannot be shelved. They occupy floor space, they only work in a single layer, and floor space is the scarcest storage in any delivery vehicle. Loading order therefore matters more for oversize freight than for anything else in the vehicle. Experienced drivers load oversize in reverse stop order: the package for the last oversize stop goes in first and deepest, and the package for the first oversize stop goes in last, closest to the door. When you arrive at that first stop, the box is within arm's reach.
Here is a worked example. Your route has oversize packages for stops 12, 47, and 88. The stop 88 box goes into the cargo area first, against the bulkhead. The stop 47 box slides in beside it. The stop 12 box goes in last, right at the rear opening. At stop 12 you open the door and the box is already pointing at you. At stop 47 it is one slide away. Nothing gets lifted twice, and nothing gets moved twice.
If you are preparing for a delivery-knowledge assessment, the accepted answer to "how should oversize packages be arranged in your vehicle" is: by the driver aid number on the sort assist label. Some versions of the assessment phrase the correct answer as the sort zone letter. Treat those as one system, not two competing answers — zones tell you which end or side of the vehicle a package belongs in, and the aid number tells you the order within that zone.
Five Positioning Rules That Apply in Every Vehicle
Sequence decides when you reach a package. Placement decides what condition it is in when you get there. Five rules cover nearly every oversize situation a driver meets:
- Floor only, single layer. Oversize packages are floor freight. Stacking one appliance box on another raises the center of gravity and doubles the sliding mass in a hard brake.
- Against a fixed reference. Place the heaviest pieces against the bulkhead, a wheel arch, or the side wall — never floating in the middle of the bay where they can travel.
- Heaviest lowest, lightest highest. If anything does ride above floor level, it must be light, soft, and netted. A 50-pound box on a 10-pound box is a wrong-way load.
- Long items along a wall. Rug rolls, tubes, and molding boxes run parallel to the vehicle side, not across the walk path where every stop becomes a step-over.
- Exit and walk path stay clear. The door must open fully and you must be able to reach every zone without climbing. A blocked exit is a safety violation in every commercial fleet manual, and it slows you all day in a personal vehicle too.
The table below condenses those rules into the package types you actually handle:
| Package type | Where it rides | Main risk to manage |
|---|---|---|
| Appliance-size box | Floor, against the bulkhead or wheel arch, label facing out | Tipping in cornering; crushed corners from loose freight sliding into it |
| Flat-pack furniture | Floor, laid flat against a side wall | Edge crushing; sliding lengthwise under braking |
| Rug rolls and long tubes | Along one wall, parallel to the vehicle side | Rolling; blocking the walk path when loaded sideways |
| Irregular or off-balance items | Floor, widest face down, wedged between stable pieces | Shifting rotation; unpredictable slide direction |
| High-value fragile oversize | Floor, closest to the door for its stop, strapped individually | Compression damage from nets or straps applied without corner protection |
Notice the pattern: every oversize category lives at floor level and touches something fixed. The moment an oversize package floats in loose space, you have accepted the cost of chasing it around the bay at every stop.
A Three-Zone Layout That Works in Any Van, SUV, or Sedan
You do not need a custom-configured delivery van to sort properly. A three-zone layout, counted from the rear doors forward, fits any vehicle and mirrors the reverse-stop loading order:
Zone 1 — Rear Doors
Oversize packages for the first quarter of your stops. Loaded last, retrieved first. Everything here should be reachable without stepping into the bay.
Zone 2 — Middle Floor
Mid-route oversize. As you pull each package out, slide the remaining pieces one position rearward so the next stop keeps moving toward the door.
Zone 3 — Bulkhead Line
Late-route oversize plus the heaviest single items. Deepest, lowest, and the first thing you strap, because a heavy item traveling forward from here hits hardest.
The Seat-Line Rule
In vehicles without a bulkhead, nothing rides above the top of the seat backs. A 40-pound box above that line becomes a projectile in a panic stop from 30 mph.
An empty cargo bay is the hardest case, because there is nothing to pack against. In that situation an adjustable cargo bar does the work of a fixed bulkhead: brace it wall to wall at your zone boundary, and the bay behind it becomes a locked compartment. Fleet operators use the same logic with shoring beams in sprinter-style vans.
Adjustable Cargo Bars and Shoring Beams for Splitting a Delivery Van into Secure Zones
An adjustable shoring bar braces wall to wall inside an empty cargo bay, acting like a fixed bulkhead that locks the space behind it. It suits fleet operators who need to divide sprinter-style van loads into secure compartments.
View Product →Mark your zone boundaries with a strip of masking tape across the floor and write the stop ranges on it — 1–40, 41–90, 91+. The tape costs nothing, survives a shift, and turns a re-load after a return stop into a ten-second decision instead of a guess.
Why Unsecured Stacks Shift — and What the Shift Costs
The physics is unforgiving. A hard brake from 30 mph in a loaded van produces roughly 0.5 g of deceleration. A cardboard box sitting on a smooth plywood or composite deck starts sliding at around 0.3 g, because the friction coefficient between bare cardboard and that surface is only about 0.3. Do the arithmetic: any load that is only sitting there will slide every time you brake harder than normal traffic. Cornering adds the same force sideways, which is why unsecured stacks rarely shift straight back — they walk diagonally toward whichever wheel arch is on the inside of your last turn.
Those numbers explain three costs drivers pay for loose freight:
0.5 g deceleration in a hard stop from 30 mph
0.3 g slide threshold for a box on a smooth deck, approx.
30–60 s lost at every stop where the next package is buried
Typical time to pull the next oversize package at a stop
The direct time loss is only the visible part. Damaged corners on furniture and appliance boxes generate claims and redelivery trips. Repeated re-lifting of 40-pound boxes from awkward angles is a documented cause of driver back strain — the injury happens at stop 31, not stop 1, because by then the stack has degraded and every retrieval is a compromise. And once a stack tips, it rarely tips back: one leaning appliance box will shed smaller freight onto the floor of the bay at the next hard corner, and the rest of the route runs on收拾 time you do not have.
Holding the Stack: Straps, Nets, and Bars Compared
Sorting handles the order of retrieval; securing protects the order itself. Three tool categories cover delivery work, and each earns its place in a different situation. For straps, the certification matters as much as the style — equipment marked to GS/TUV standards has passed independent load and fatigue testing, which is the baseline we build to on every webbing product we ship.
For stop-and-start route driving, retractable ratchet straps have become the practical favorite. The strap stays under constant tension as the stack settles and shrinks during the day, there is no loose tail flapping around a buckle, and one hand releases the mechanism when the box is due.
Retractable Ratchet Strap Set for Constant-Tension Securing of Oversize Packages
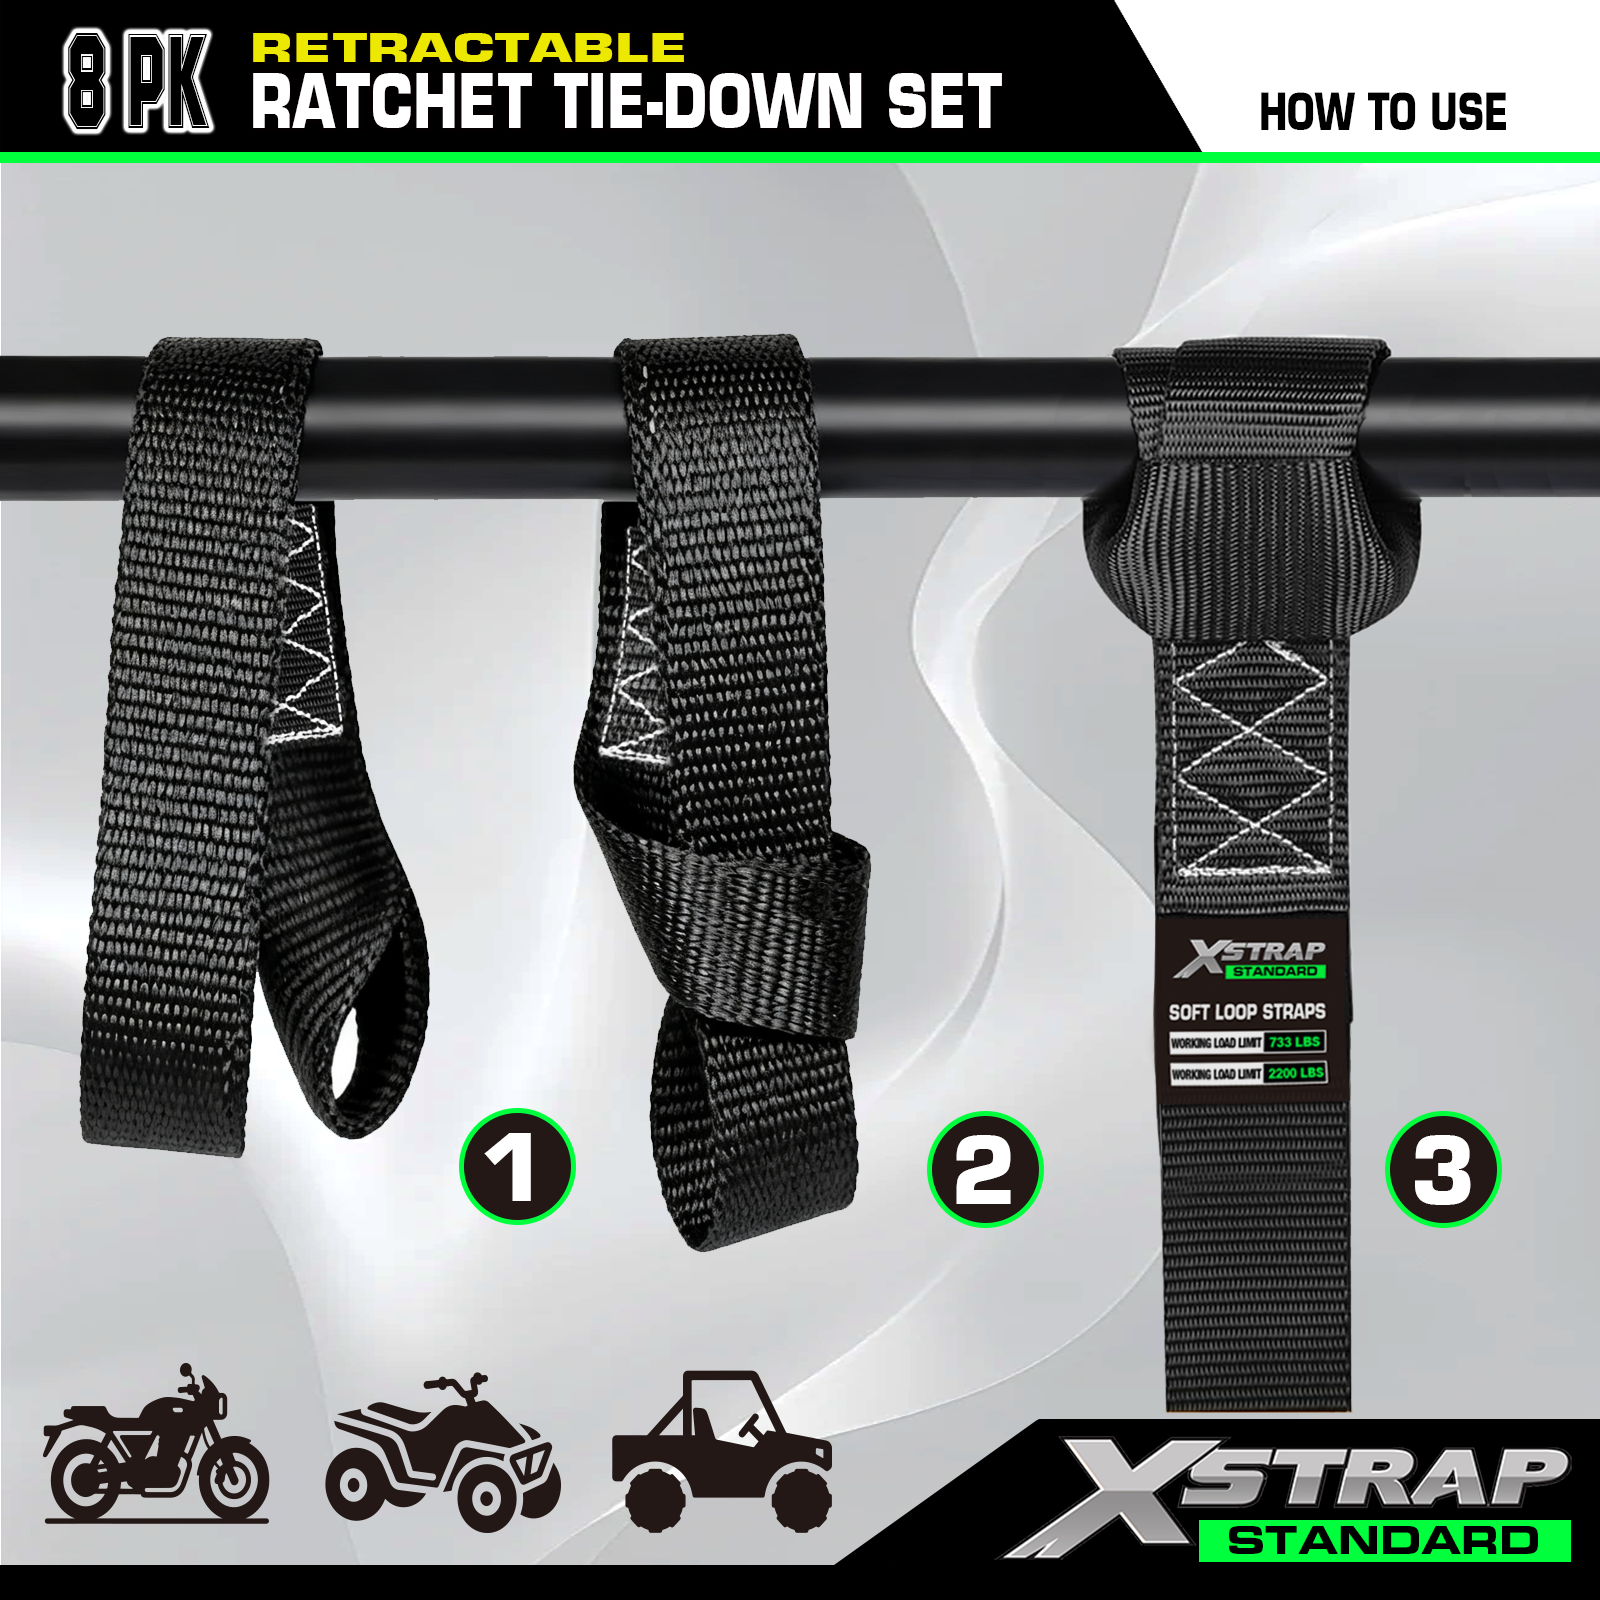
These auto-retracting ratchet straps hold constant tension as loads settle during stop-and-start route driving, with one-hand release and a 1,500 lb breaking strength, making mid-route re-tensioning fast and tangle-free.
View Product →Standard ratchet straps still win where the load is genuinely heavy — a full appliance box or a stack of flat-pack furniture — because the mechanical advantage lets you set tension precisely and re-tighten mid-route in seconds. Cargo bars and nets fill the gaps that straps cannot reach, and the comparison below shows where each method fits.
| Method | Typical setup time | Holding behavior | Best for |
|---|---|---|---|
| Retractable ratchet strap | Under 1 minute per strap | Constant tension, self-adjusting as the stack settles | Daily route driving with mixed oversize freight |
| Standard ratchet strap | 2–3 minutes | High, precisely adjustable tension | Heavy single items such as appliances and furniture |
| Cargo bar / shoring beam | About 30 seconds | Blocking force across the bay, no attachment points needed | Empty or half-empty bays that need a zone divider |
| Cargo net | About 1 minute | Even downward pressure across the whole top layer | Stopping the top layer from walking off the stack |
| Bungee cord | Seconds | Light, forgiving tension | Light parcels and temporary holds — never heavy oversize |
Whichever strap you choose, protect the package where the webbing meets the cardboard. A rubber corner protector spreads the strap pressure over a wider surface and prevents the webbing edge from biting a channel into a furniture box on a long, bumpy leg. It is a two-dollar accessory that prevents the most common form of self-inflicted damage in secured loads.
A Ten-Step Loading Routine You Can Repeat Every Morning
Consistency is what makes a sorted load stay sorted. Run the same sequence at the depot every day and the arrangement becomes automatic:
- Check the vehicle payload against your manifest weight before the first box goes in — more on the numbers in the next section.
- Sweep the cargo floor. Grit and leftover packaging film cut the friction coefficient even lower and scratch package surfaces.
- Split oversize packages by sort zone letter first, then line each zone up by driver aid number.
- Load in reverse stop order from the bulkhead outward, so the earliest oversize stops end up nearest the rear doors.
- Set the heaviest pieces on the floor against the bulkhead or wheel arch, widest face down.
- Run long items — rolls, tubes, molding boxes — along a side wall, never across the walk path.
- Fill vertical gaps between oversize pieces with soft, light parcels only. Nothing crushable goes beside an appliance box.
- Set a cargo bar at your first zone boundary so mid-route retrievals cannot pull the whole arrangement forward.
- Net or strap the top layer. If the stack sits below the seat line and everything interlocks, one net across the top is enough.
- Final check: door swing is clear, nothing rides above the seat line, labels face the aisle, and you photograph the load so you know exactly what moved if something looks wrong at stop 20.
The routine adds about five minutes at the depot and returns twenty to forty on the route. No step in it requires a specially outfitted vehicle — only discipline and basic securing hardware.
Payload, Distribution, and the Numbers to Check Before You Drive
Arrangement theory fails the moment the vehicle is overweight, so verify capacity first. Find the gross vehicle weight rating (GVWR) on the door sticker and subtract the vehicle's curb weight; the remainder is your payload. A compact cargo van might carry 1,500 lb. Thirty oversize boxes at 35 lb each is 1,050 lb, and 200 small parcels at 4 lb average adds another 800 lb — you are already over before you account for your own weight and equipment. When the manifest approaches the limit, the heaviest oversize pieces are the items to reschedule, not the small parcels to squeeze in.
Distribution matters as much as the total. Keep the heaviest items as far forward in the cargo area and as low as possible, roughly centered between the wheel arches. Loading 600 lb against the tailgate unweights the front axle and makes steering vague; loading it all against one side wall makes the vehicle lean and handle differently in right and left corners. The same 600 lb spread low and forward keeps the van behaving the way the manufacturer tuned it.
Match the securing hardware to the job as well. Working load limit (WLL), not break strength, is the number to size against — a strap stamped with a 1,000 lb WLL is a far heavier-duty tool than the 300 lb class straps designed for light utility work. In vans without floor anchor points, cargo bars braced between the walls carry the securing load, which is why fleet builders specify them alongside every anchor rail.
If you want the full framework in one place — route checks, load checks, and restraint checks in order — this master guide to ensuring a safe transport walks through the complete sequence.
Seven Mistakes That Damage Oversize Packages (and Sometimes the Driver)
Most damaged-freight complaints trace back to a short list of loading errors. Check your own routine against it:
- Sorting by size instead of stop order. "Big boxes at the back" ignores retrieval sequence. Size decides the layer; the aid number decides the position.
- Building above the seat line. Anything above that line enters the cabin in a hard stop. This is the single most dangerous habit in personal-vehicle delivery work.
- Loading oversize last. When oversize goes in after the parcels, it ends up loose on top of the stack, exactly where it does the most damage.
- Relying on friction. A smooth deck and bare cardboard start sliding at roughly 0.3 g — less than a firm brake from 30 mph. Friction is not a securing method.
- Over-tensioning straps on bare cardboard. A ratchet cinched hard on an unprotected edge cuts a channel into the box and can crush shrink-wrapped furniture corners. Use corner protection and stop at snug.
- Blocking the rear exit. One box pushed in front of the door costs you thirty seconds of climbing at every stop and becomes a hazard in an emergency.
- Ignoring label orientation. A label facing the ceiling means lifting the package to scan it. Labels toward the aisle keep every stop at floor speed.
The cheapest fix for a friction-dependent stack is a cargo net stretched over the top layer. The net distributes even pressure across the whole surface, stops the walking motion that develops over a day of cornering, and takes about a minute to hook in place each morning.
Heavy-Duty Cargo Nets to Cap and Stabilize a Full Day of Oversize Packages
A cargo net stretched over the top layer distributes even pressure across a friction-dependent stack, preventing items from walking during a day of cornering, and hooks into place in about a minute.
View Product →No Sort Assist Label? Build Your Own Sequence in Five Minutes
Furniture moves, event equipment hauls, small courier runs, and personal deliveries often have no app-generated labels at all. The same principles still apply — you just generate the numbers yourself. At the pickup, number the stops in driving order on strips of masking tape stuck to each item, and add a zone letter based on the geography: everything in the first neighborhood gets A, the second gets B. Those handwritten numbers now behave exactly like a driver aid number on a sort assist label.
Load by the same reverse-stop logic. The last delivery goes in deepest against the bulkhead or wheel arch, the first delivery goes in last at the door, and long items run along a wall. Photograph the finished load before you close the tailgate. When you cannot remember whether the box for stop 6 is behind the mattress or beside it, the photo answers in five seconds instead of a ten-minute unload-and-reload at the roadside.
For light loads in a car or SUV, a pair of light-duty ratchet straps or a bungee-style net across the top layer is enough to hold the arrangement you built. The selection rules are the same at any scale: match the working load limit to the item, protect fragile edges from the webbing, and never let a strap substitute for correct placement. If you are unsure which strap class fits the job, our guide on how to choose the right utility tie-down straps walks through width, WLL, and end-fitting choices in plain terms.
Frequently Asked Questions
How should oversize packages be arranged in your vehicle?
By the driver aid number on the sort assist label — or by sort zone letter when your routing system assigns zones, then by aid number within each zone. Physically, oversize packages ride on the floor in a single layer, heaviest items lowest against a fixed reference point, loaded in reverse stop order so the first oversize delivery is the easiest to reach.
Should oversize packages be loaded first or last?
First, and deepest. Oversize goes into the vehicle before small parcels so it sits on the floor rather than on top of the stack. Within the oversize group, load in reverse stop order: the furthest stop goes in first and deepest, and the earliest stop goes in last, nearest the door.
Can smaller packages ride on top of oversize ones?
Only light, soft, non-crushable items, kept below the seat-back line and held by a net. Nothing rigid, heavy, or fragile goes above an appliance box, and in a vehicle without a bulkhead, nothing goes above the seat line at all. A hard stop from 30 mph turns any unsecured top-layer item into a cabin hazard.
How do I keep oversize packages from sliding in an empty cargo bay?
Combine a wall-to-wall cargo bar as a blocking bulkhead with a net or strap over the stack. Bare cardboard on a smooth deck slides at roughly 0.3 g of cornering or braking force, which ordinary traffic generates several times a shift. Blocking and covering the load removes the slide entirely instead of hoping friction holds.
How tight should a ratchet strap be around a package?
Snug — tight enough that the package does not shift when you push it, but not so tight that the webbing deforms the cardboard. A useful check: the strap should compress the surface by no more than a few millimeters. Use rubber corner protectors at contact edges, and choose a cam buckle instead of a ratchet for delicate furniture surfaces.
How much total weight can I legally carry in a delivery vehicle?
Find the GVWR on the door sticker and subtract the vehicle's curb weight — the difference is your payload, and it includes you, your equipment, and every package. Keep heavy items low, forward, and centered between the wheel arches, and reschedule the heaviest oversize pieces when the manifest approaches the limit. An overloaded vehicle brakes longer and steers worse, which undermines every securing decision you made at the depot.
Popular Products
Recent News
 How Do You Choose the Right Utility Tie Downs and Bungee Cords for Your Needs
Introduction
When it comes to securing your gear for transport, storage, or organization, Utility Tie Downs and Bungee Cords are essential tools. Whether you're hauling heavy loads...
 The Ultimate Guide to Ratchet Straps: Choosing, Using, and Maintaining Them
Introduction to Ratchet Straps
What Are Ratchet Straps?
Ratchet straps, also known as tie-down straps or cargo straps, are a type of load securement tool widely used in transportat...
 How Can Ratchet Tie Down Standard Duty Straps Ensure Safe and Reliable Cargo Securement
What Are Ratchet Tie Down Straps and Why Are They Important for Cargo Securement?
Introduction to Ratchet Tie Down Straps
Ratchet tie down straps are essential tools for anyone inv...
 What are Ratchet Straps and how do they help you transport your items safely
What Are Ratchet Straps?
Ratchet straps, also known as ratchet tie-downs or cargo straps, are heavy-duty fastening tools designed to secure items during transportation. They consis...
 How to Properly Use Light Duty Ratchet Tie Downs for Maximum Load Security
Understanding the Basics of Ratchet Tie Down Light Duty Straps
Ratchet tie-down straps are a critical tool in the transportation, storage, and securement of goods. They are used to...
-
 +86-18112697781qindan355@gmail.comNo. 21 Yuefeng Road, Yangshe Town, Zhangjiagang City, Suzhou City, Jiangsu Province
 -
Quick Links
Social Media
-
OEM Partner
-


Copyright © 2025 Zhangjiagang SMK MFG. Co., Ltd. All rights reserved.
 Wholesale Tension Strap Manufacturers
Wholesale Tension Strap Manufacturers