
 English
 Français
 Español

Home / News / Industry News / How to Ratchet Strap Cargo: Step-by-Step Tensioning, Load Limits & Safety
How to Ratchet Strap Cargo: Step-by-Step Tensioning, Load Limits & Safety
2026-11-06
How to Ratchet Strap Cargo: The Six-Move Method
A ratchet strap is a tensioning tool, and the buckle is the force multiplier. A 2-inch ratchet assembly rated at 3,333 lb working load limit lets one person hold a load that no amount of hand-pulled rope could control, because the handle converts a light squeeze into a slow, controlled pull on the mandrel. The method below is the one that works on flatbeds, utility trailers, vans and roof racks alike, and it takes about ninety seconds per strap once you have done it a few times.
Move 01
Anchor the fixed end
Hook the short, fixed-length end to a point that is part of the vehicle frame, rail or track — never to the cargo itself.
Move 02
Route over, not around
Run the webbing across the top of the load in a straight line. Diagonal pulls twist the cargo and loosen under vibration.
Move 03
Thread the mandrel
Feed the loose end up through the slot in the spool, keeping the webbing flat with no twist, then pull the slack through by hand.
Move 04
Crank the handle
Open and close the handle in short strokes. The pawl clicks on each stroke; if it does not click, the webbing is threaded the wrong way.
Move 05
Close and lock
Press the handle fully closed against the frame. A half-closed handle leaves the release pawl exposed and the tension partially released.
Move 06
Re-check after rolling
Stop after the first few kilometres or the first ten minutes of driving and take up any slack that has settled out of the load.
One rule prevents most failures: the webbing should touch the cargo and the anchor point, and nothing sharp in between. Every cut, every chafed edge and every bent hook in a returned strap can usually be traced back to a five-second shortcut on this point.
Anchoring and Threading: Where Most Failures Start
The tension you achieve matters far less than where the load path begins and ends. A strap tensioned to 500 lb against a properly rated D-ring behaves completely differently from the same strap hooked over a thin sheet-metal lip.
Choose an anchor that belongs to the vehicle
Good anchors are welded D-rings, stake pockets, winch track, E-track, flatbed side rails and the rated loops built into a trailer frame. Poor anchors are cargo tie points on the load itself, bumper brackets, brake lines, plastic trim and anything that flexes when you pull on it. If you are unsure of an anchor's capacity, assume it is the weakest link in the system and derate accordingly. A strap rated at 3,333 lb connected to a 400 lb anchor gives you a 400 lb system, not a 3,333 lb one.
On a flatbed, flat hooks sit over the side rail and load the rail in shear, which is the direction it is strongest. Wire hooks drop into stake pockets or through D-rings and are less likely to walk sideways. Chain anchors and grab hooks lock onto winch track or transport chain and are the usual choice for steel, coils and machinery.
Thread the mandrel correctly, every time
The loose end of the webbing goes up through the slot in the ratchet spool from the underside, wraps over the mandrel and exits toward the cargo. Keep the webbing flat and full width inside the slot — a folded edge concentrates the load on a few yarns and will fail first. Leave at least three full wraps of webbing on the spool before you apply real tension; three wraps spread the pull across the barrel instead of loading a single layer against the slot edge.
Do not tie knots in webbing, do not join two straps with a knot, and do not pass the webbing through a hook and back on itself to create a loop. Knots cut the strength of synthetic webbing dramatically and they cannot be inspected. If you need a shorter strap, use a shorter strap.
Tensioning, Checking and Releasing
How tight is tight enough?
Tension should remove slack and stop movement, not crush the cargo. A practical field test: press firmly on the webbing about 150 mm from the buckle. A correctly tensioned strap deflects a little under thumb pressure and then stops; a loose strap moves freely and a badly over-tensioned one feels like a steel bar and has probably already deformed the cargo or the anchor.
Over-tensioning is a real failure mode. It crushes cartons, bows van panels, bends light hooks and shortens webbing life by keeping the fibres under permanent load. For loads that compress — cardboard, bagged goods, timber stacked wet — tension once, drive a few kilometres, then tension again as the load settles. For rigid loads such as steel, machinery or vehicles, the strap mainly needs to be snug and correctly angled.
Angle matters more than force
Low angle, around 30 degrees
Excellent sideways restraint. The strap resists the load sliding left or right, which is how most cargo damage actually begins during braking and cornering.
Mid angle, around 45 degrees
A good compromise for stacked freight. You get both downward clamping and lateral control, and the anchor is loaded at a comfortable angle.
Near vertical, 75 to 90 degrees
Mostly presses the load down. Useful for stopping bounce on a pallet, weak against sideways movement, and it puts the highest pull on the anchor point.
Releasing without damaging the buckle
To release, press the spring-loaded release pawl and open the handle fully past the point where the gear disengages, then pull the webbing out of the mandrel by hand. Do not force the handle against the pawl while it is still engaged, and do not pry it with a screwdriver — the pawl spring is the part that fails first when the buckle is abused.
If the ratchet jams, the usual cause is webbing jammed between the spool and the frame. Push the handle down slightly to take the tension off, hold the release pawl open, and work the handle back and forth in small strokes while pulling the tail. Once the load is off, cut the jammed section away rather than reusing a strap with a crushed or glazed patch of webbing.
The Numbers on the Label: WLL, Break Strength and the 2:1 Factor
Two numbers govern every ratchet strap. The break strength is the load at which the assembly fails in a laboratory pull. The working load limit, or WLL, is the maximum load you are allowed to secure with it in normal service. Tie-down assemblies are generally designed with a 2:1 ratio, so a strap labelled 10,000 lb break strength carries a 3,333 lb working load limit. Lifting slings use a much larger safety factor because a failure means a falling load; tie-downs assume the load stays on the deck.
Use the WLL for every calculation and never the break strength. Mixing the two is the single most common arithmetic error in load planning, and it typically shows up as a strap chosen at one third of the capacity actually needed.
| Webbing width | Typical WLL | Typical break strength | Typical work |
|---|---|---|---|
| 1 inch | 300 to 550 lb | 1,000 to 1,100 lb | Motorcycles, ATVs, kayaks, luggage, light van loads |
| 1.5 inch | 700 to 1,000 lb | 1,500 to 2,200 lb | Utility trailers, garden equipment, small pallets |
| 2 inch | 3,333 lb | 10,000 lb | Flatbeds, auto haulers, general freight, container work |
| 3 inch | 4,000 to 5,400 lb | 12,000 to 16,200 lb | Heavy machinery, steel sections, coils |
| 4 inch | 5,400 lb | 16,200 lb | Oversize loads, long spans, winch track and rail work |
Working load limit comparison at a glance
The half-the-weight rule for load planning
North American cargo securement rules start from a simple baseline: the combined working load limit of all securement devices must be at least half the weight of the cargo. A 20,000 lb machine therefore needs at least 10,000 lb of aggregate WLL, which is three 2-inch straps at 3,333 lb each. Real loads rarely distribute weight evenly, so most experienced drivers add a strap rather than balancing on the minimum. If the cargo can shift, slide, tip or roll, the minimum is not the target.
Choosing Width, Length and End Fittings
Width is driven by load weight, length by the span you actually have to reach, and the fitting by what the anchor looks like. Getting the fitting wrong is the most common specification mistake, because a strap that cannot sit properly on the anchor will never hold tension.
Flat hook
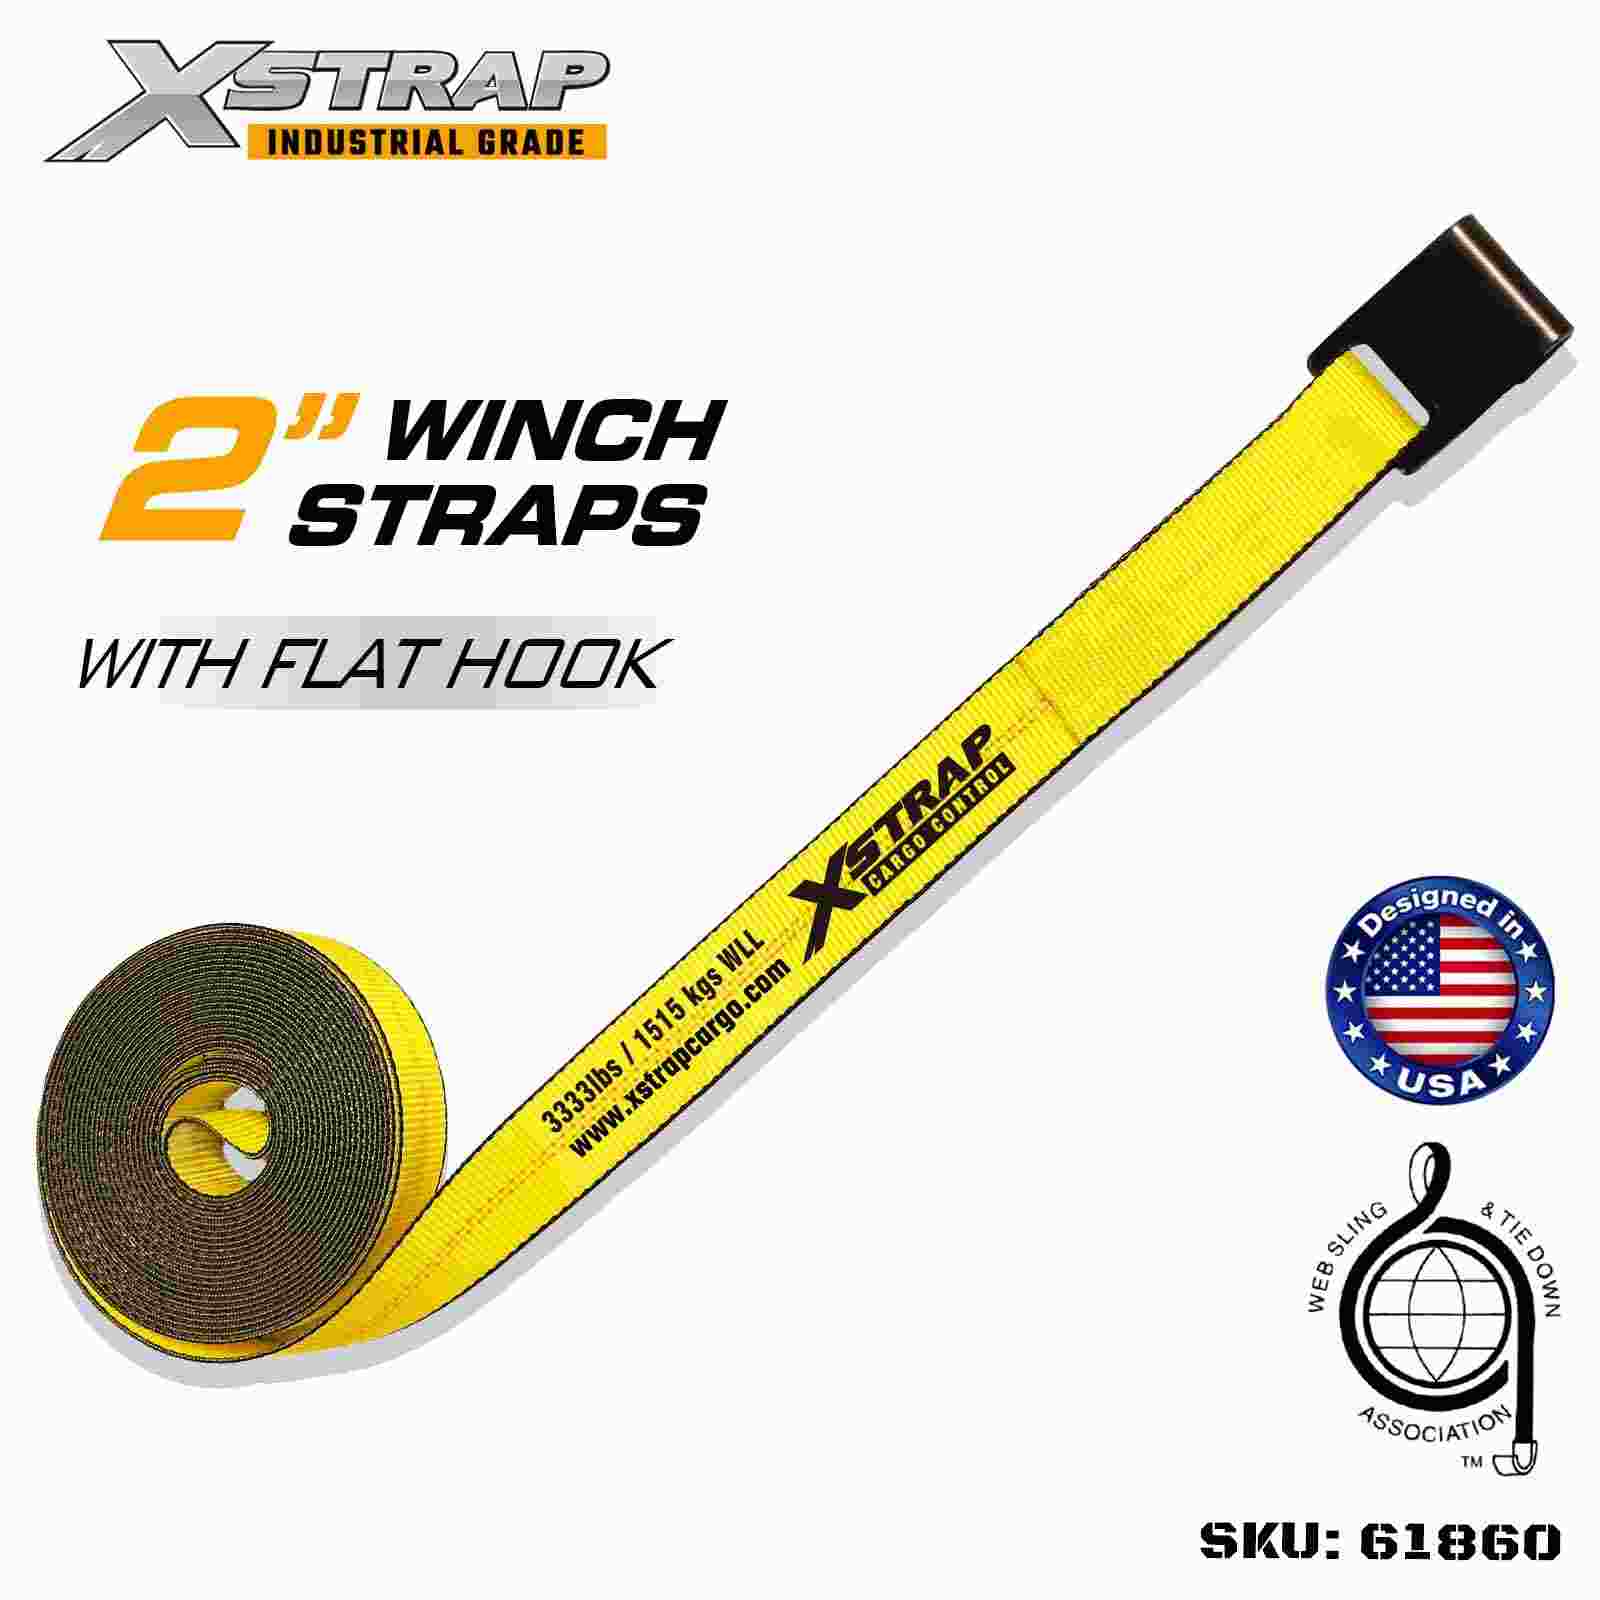
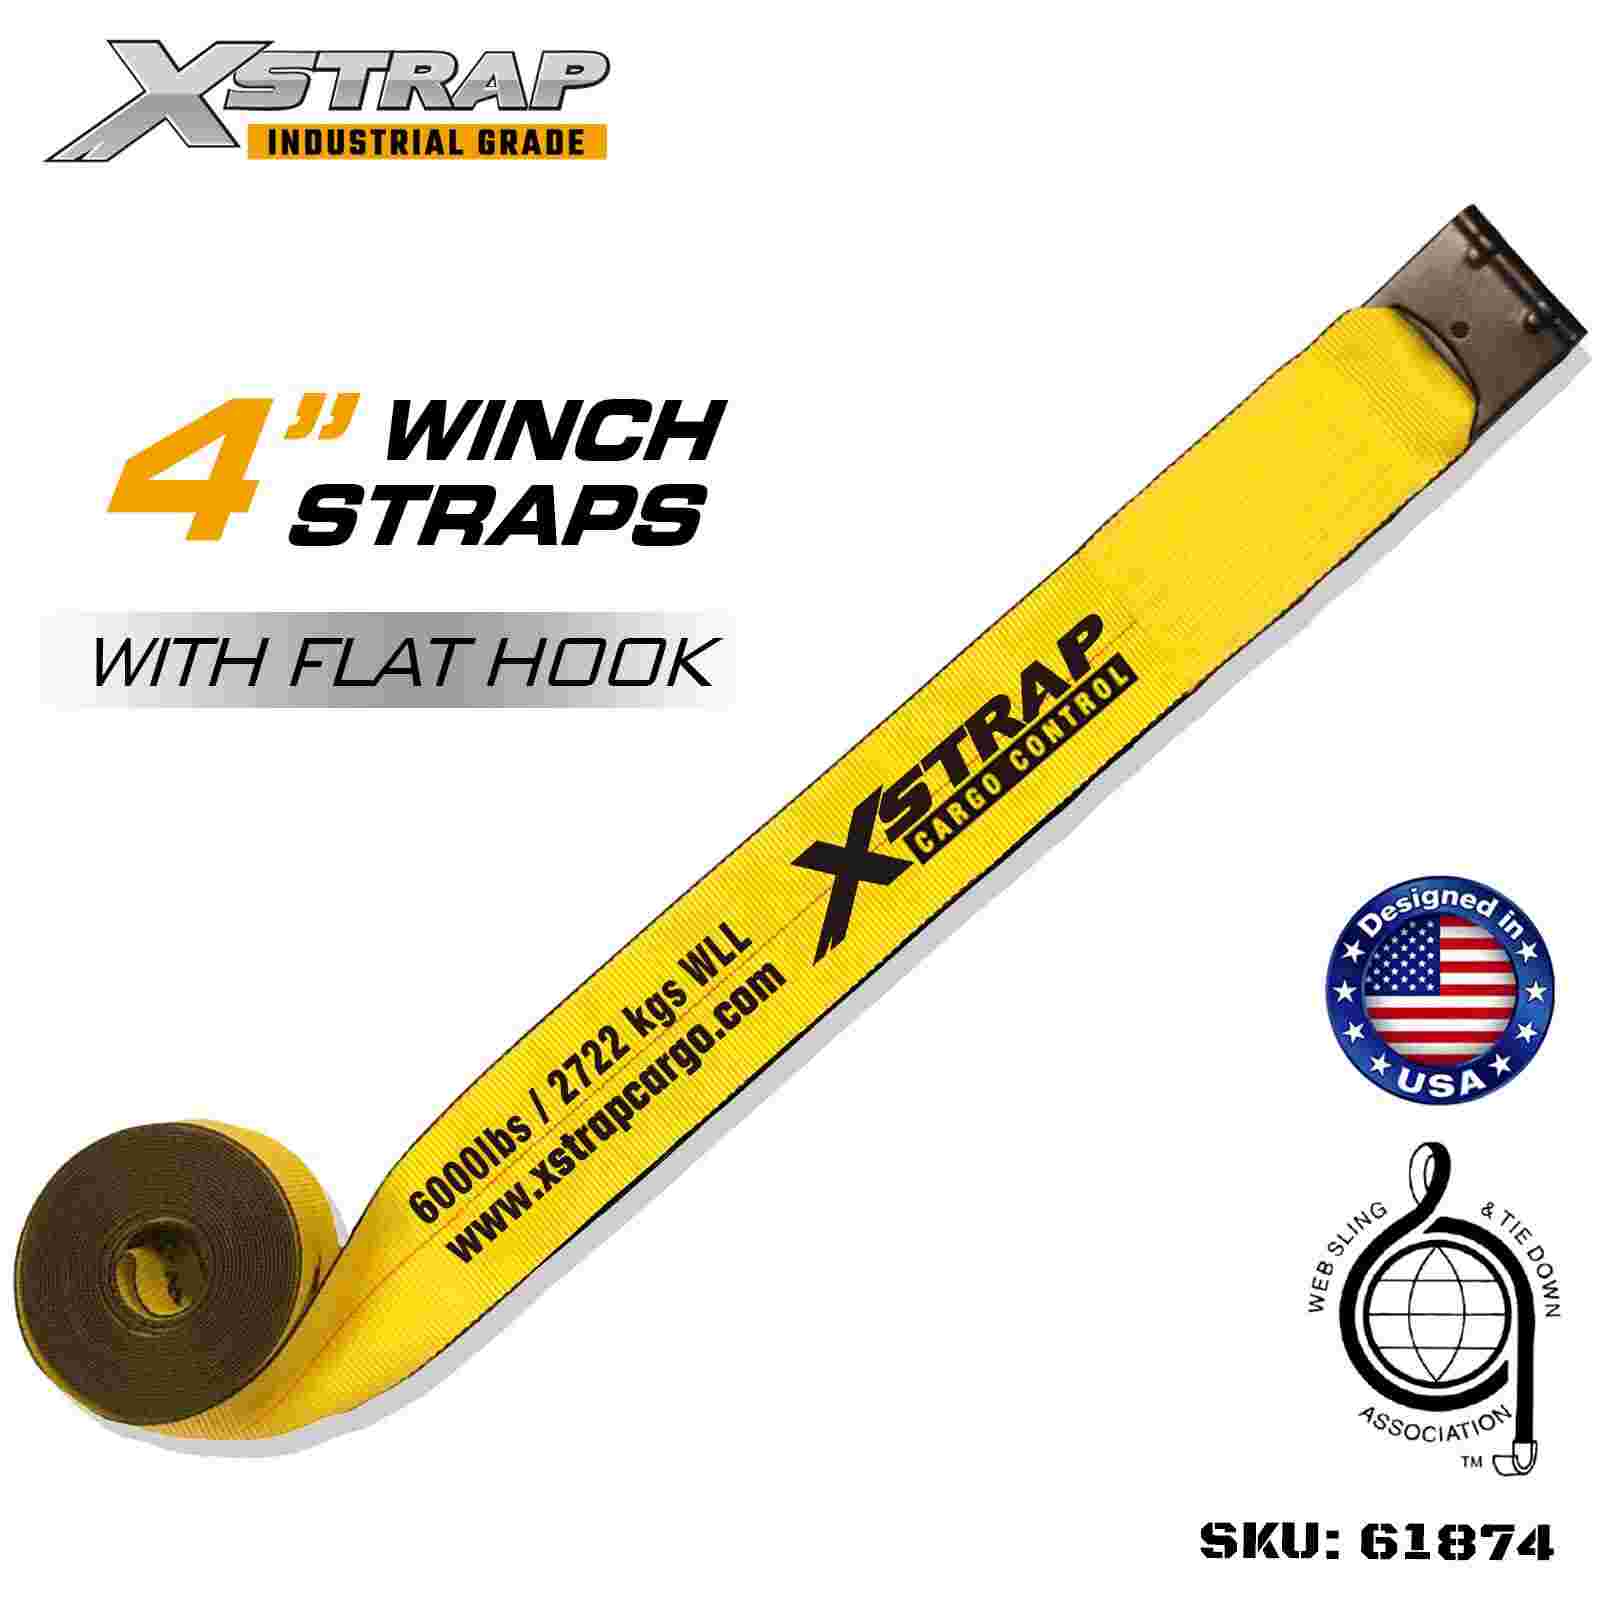
Hooks over a flatbed side rail or trailer lip. Fast to place, sits flat, and works best where the rail depth matches the hook throat.
Wire hook
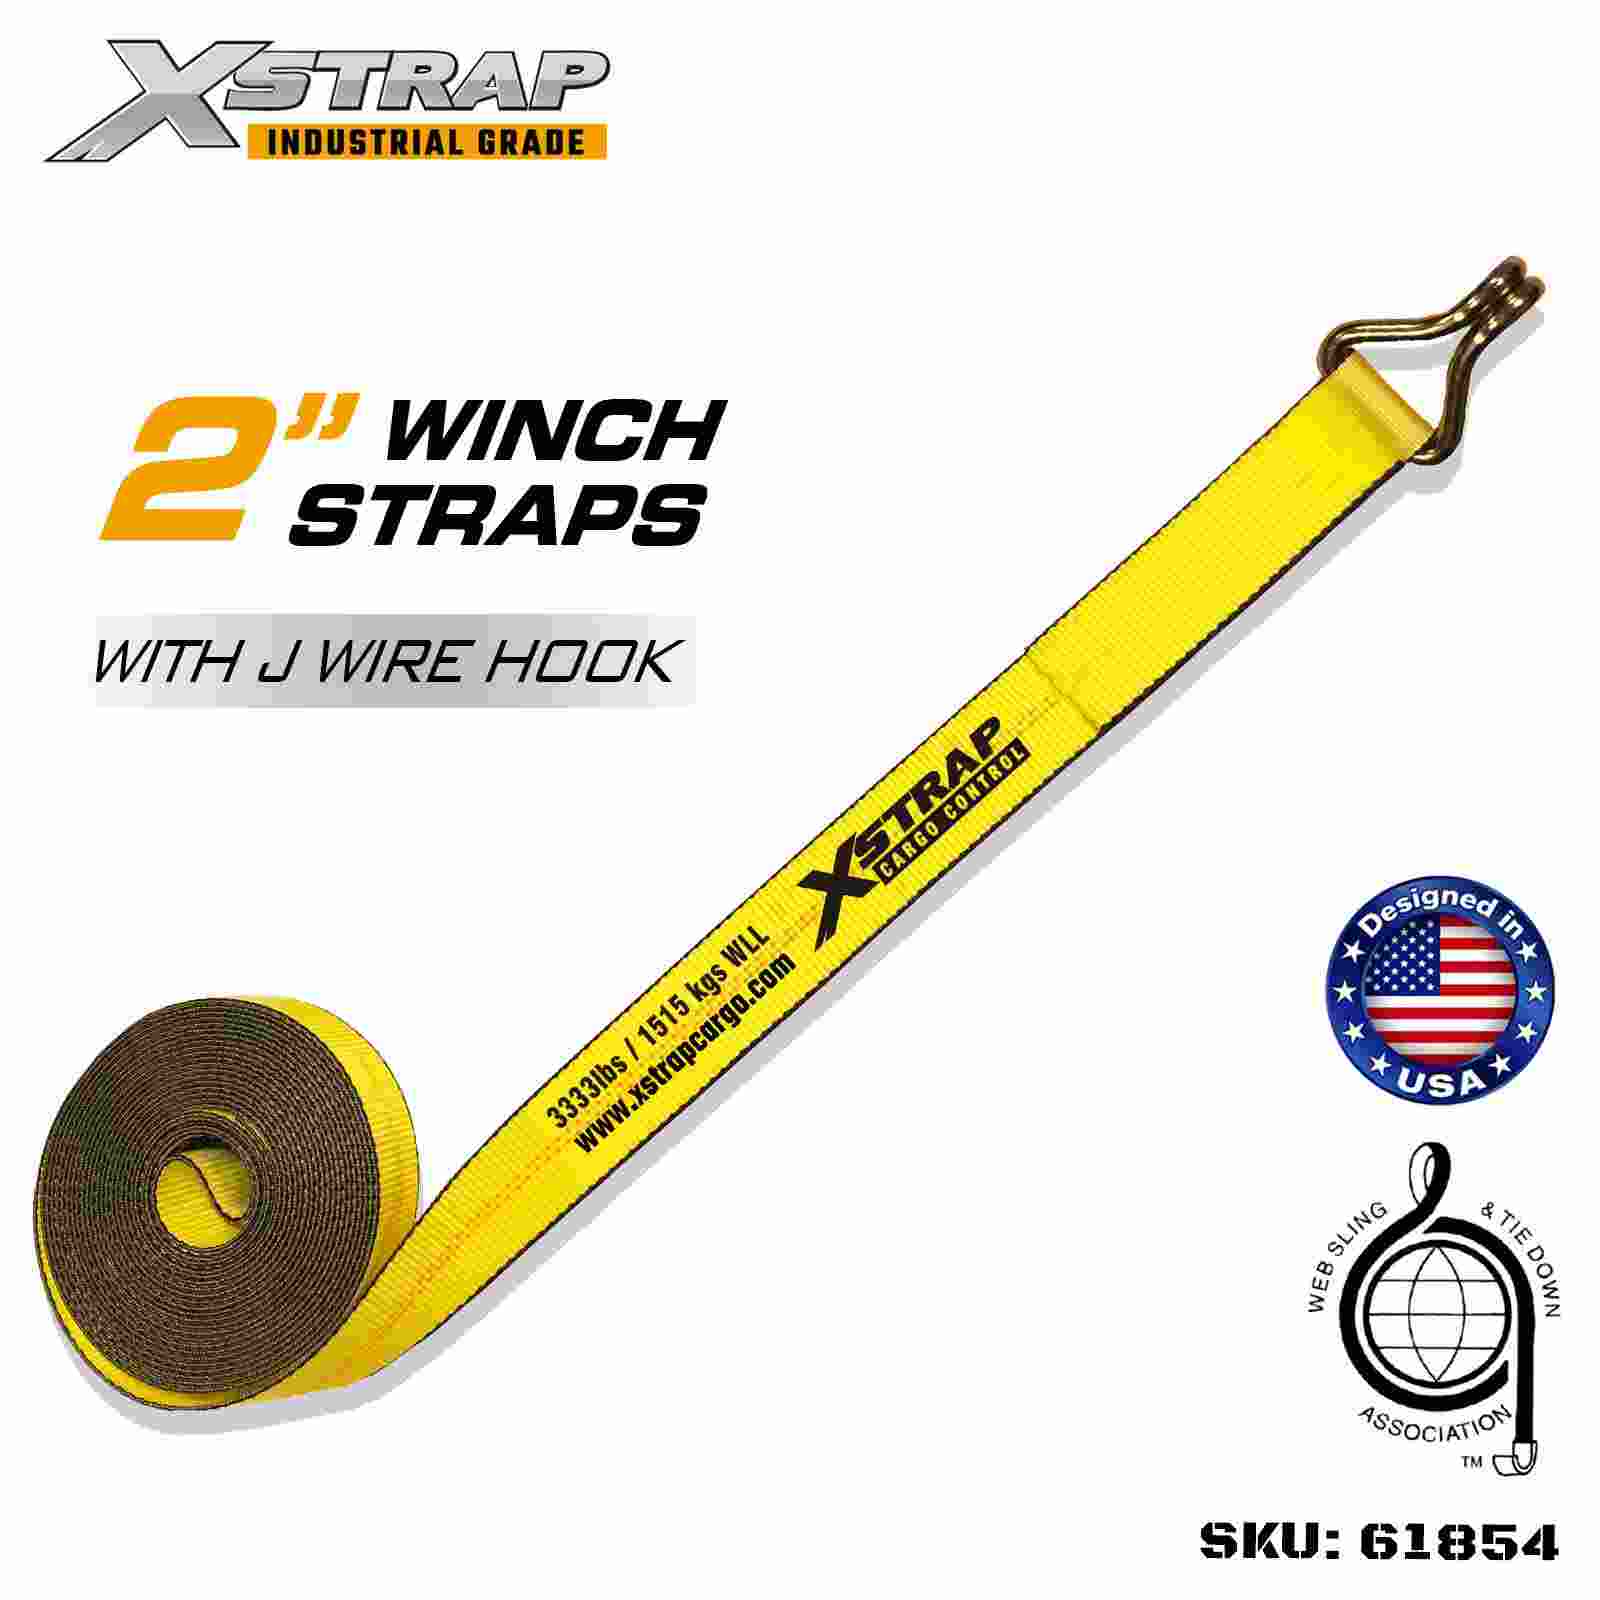
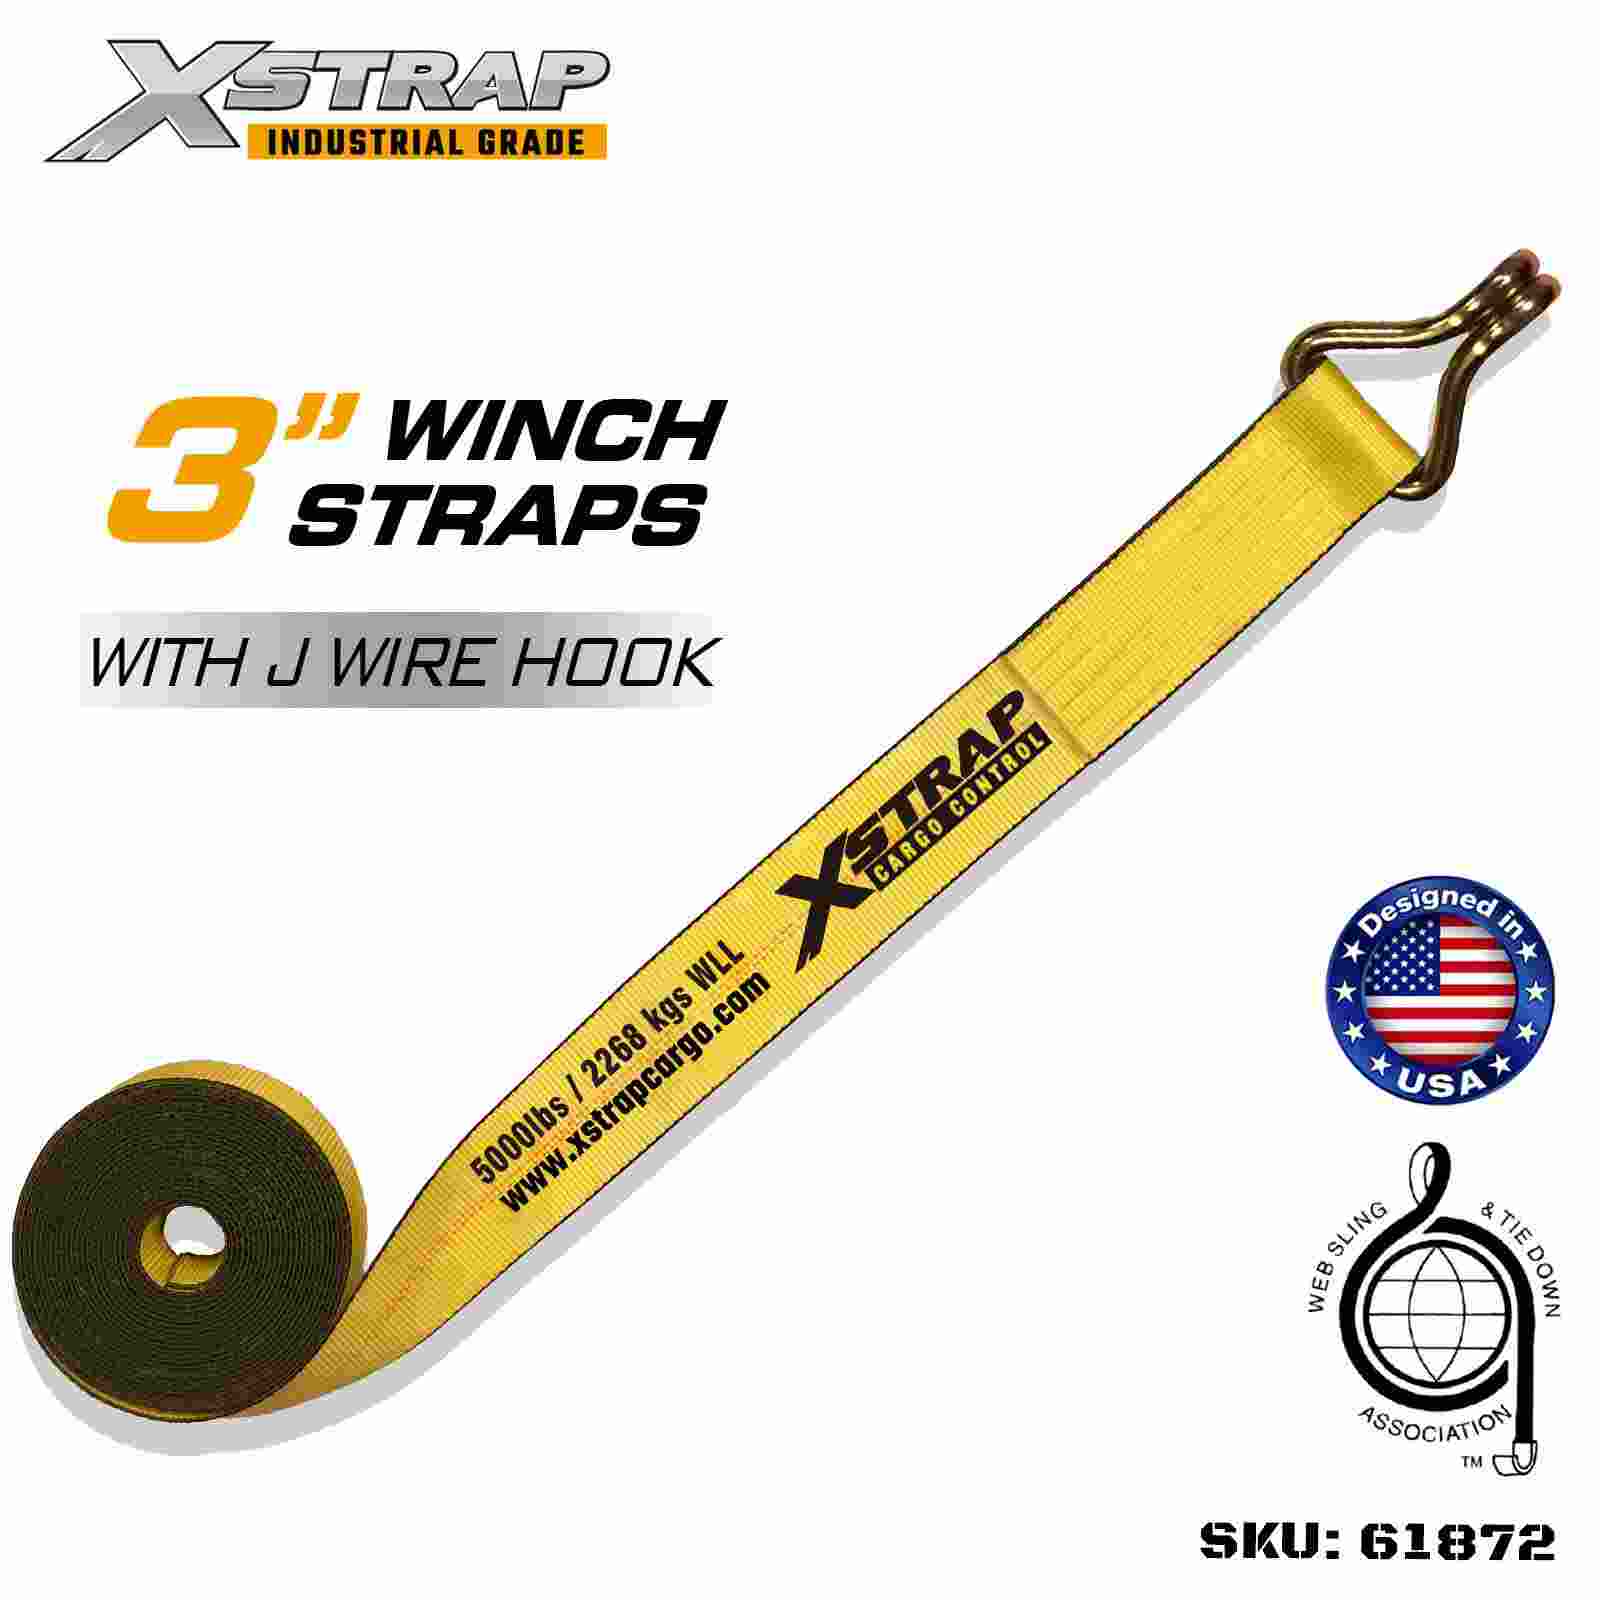
Drops into stake pockets, D-rings and tight openings where a flat hook will not fit. Slightly more prone to point loading.
Chain anchor
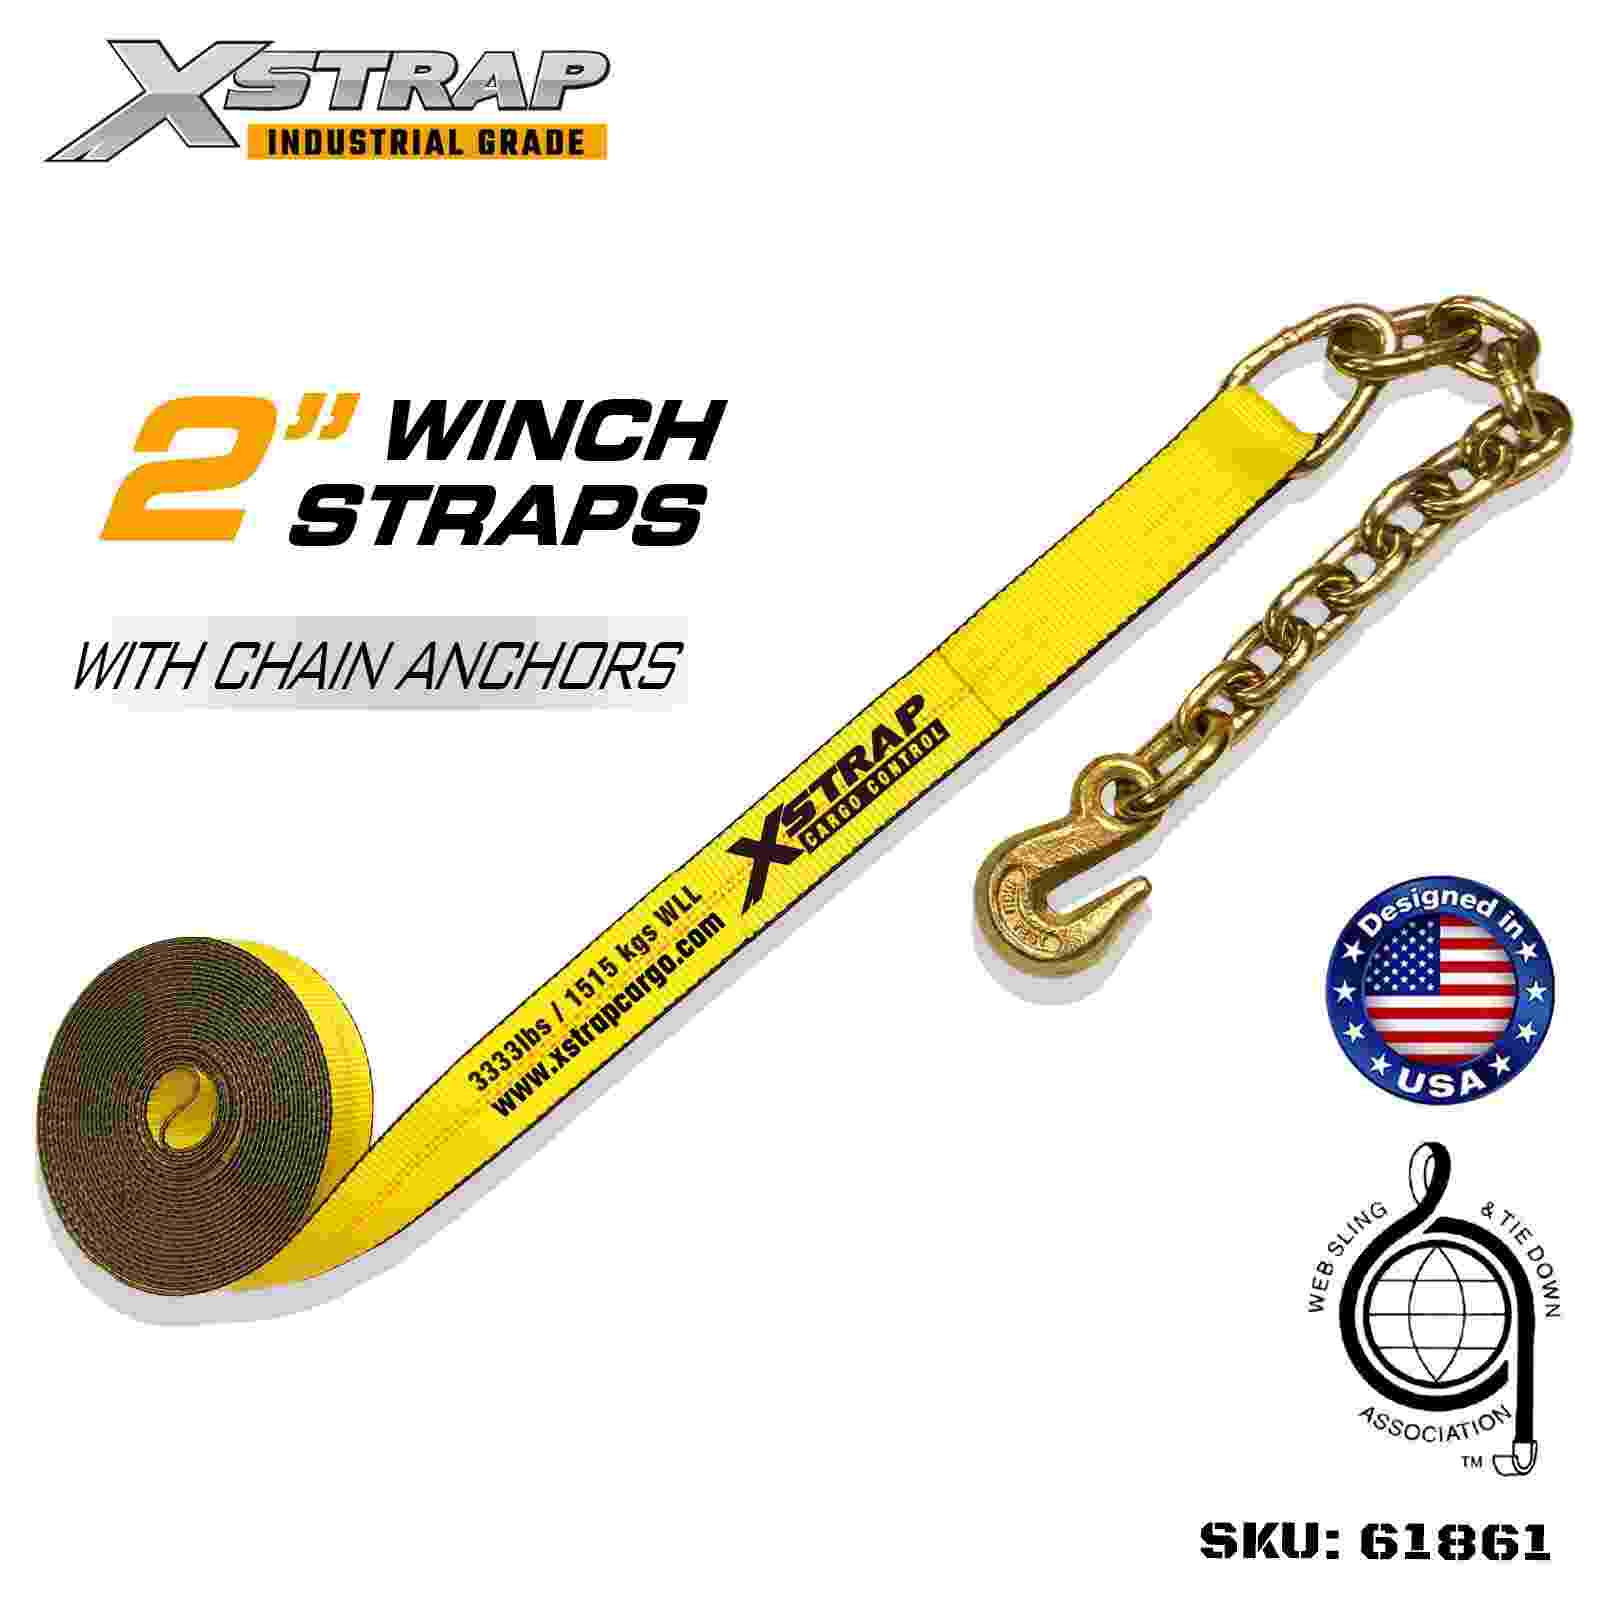
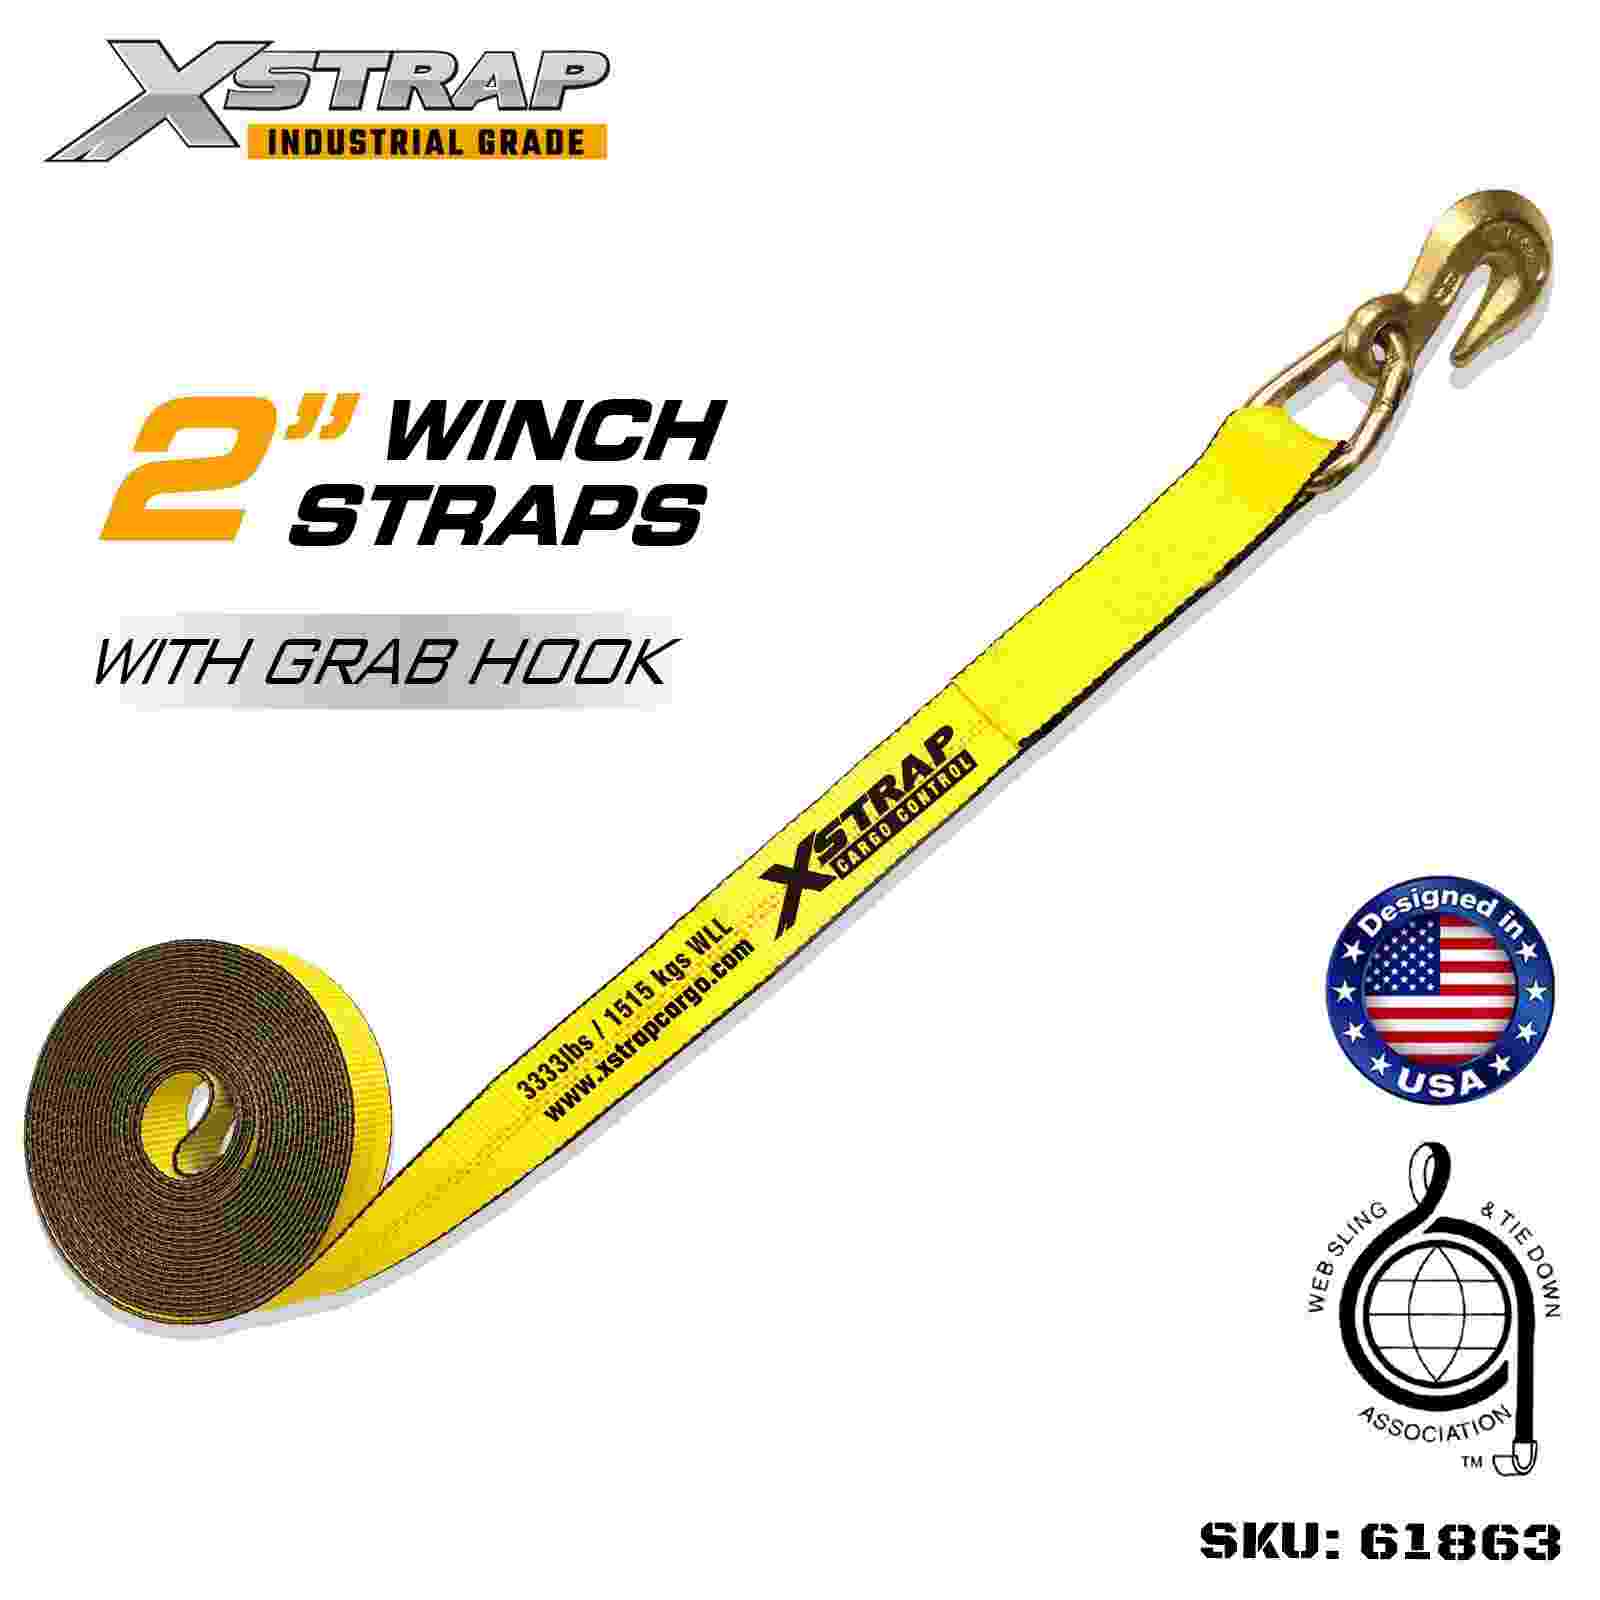
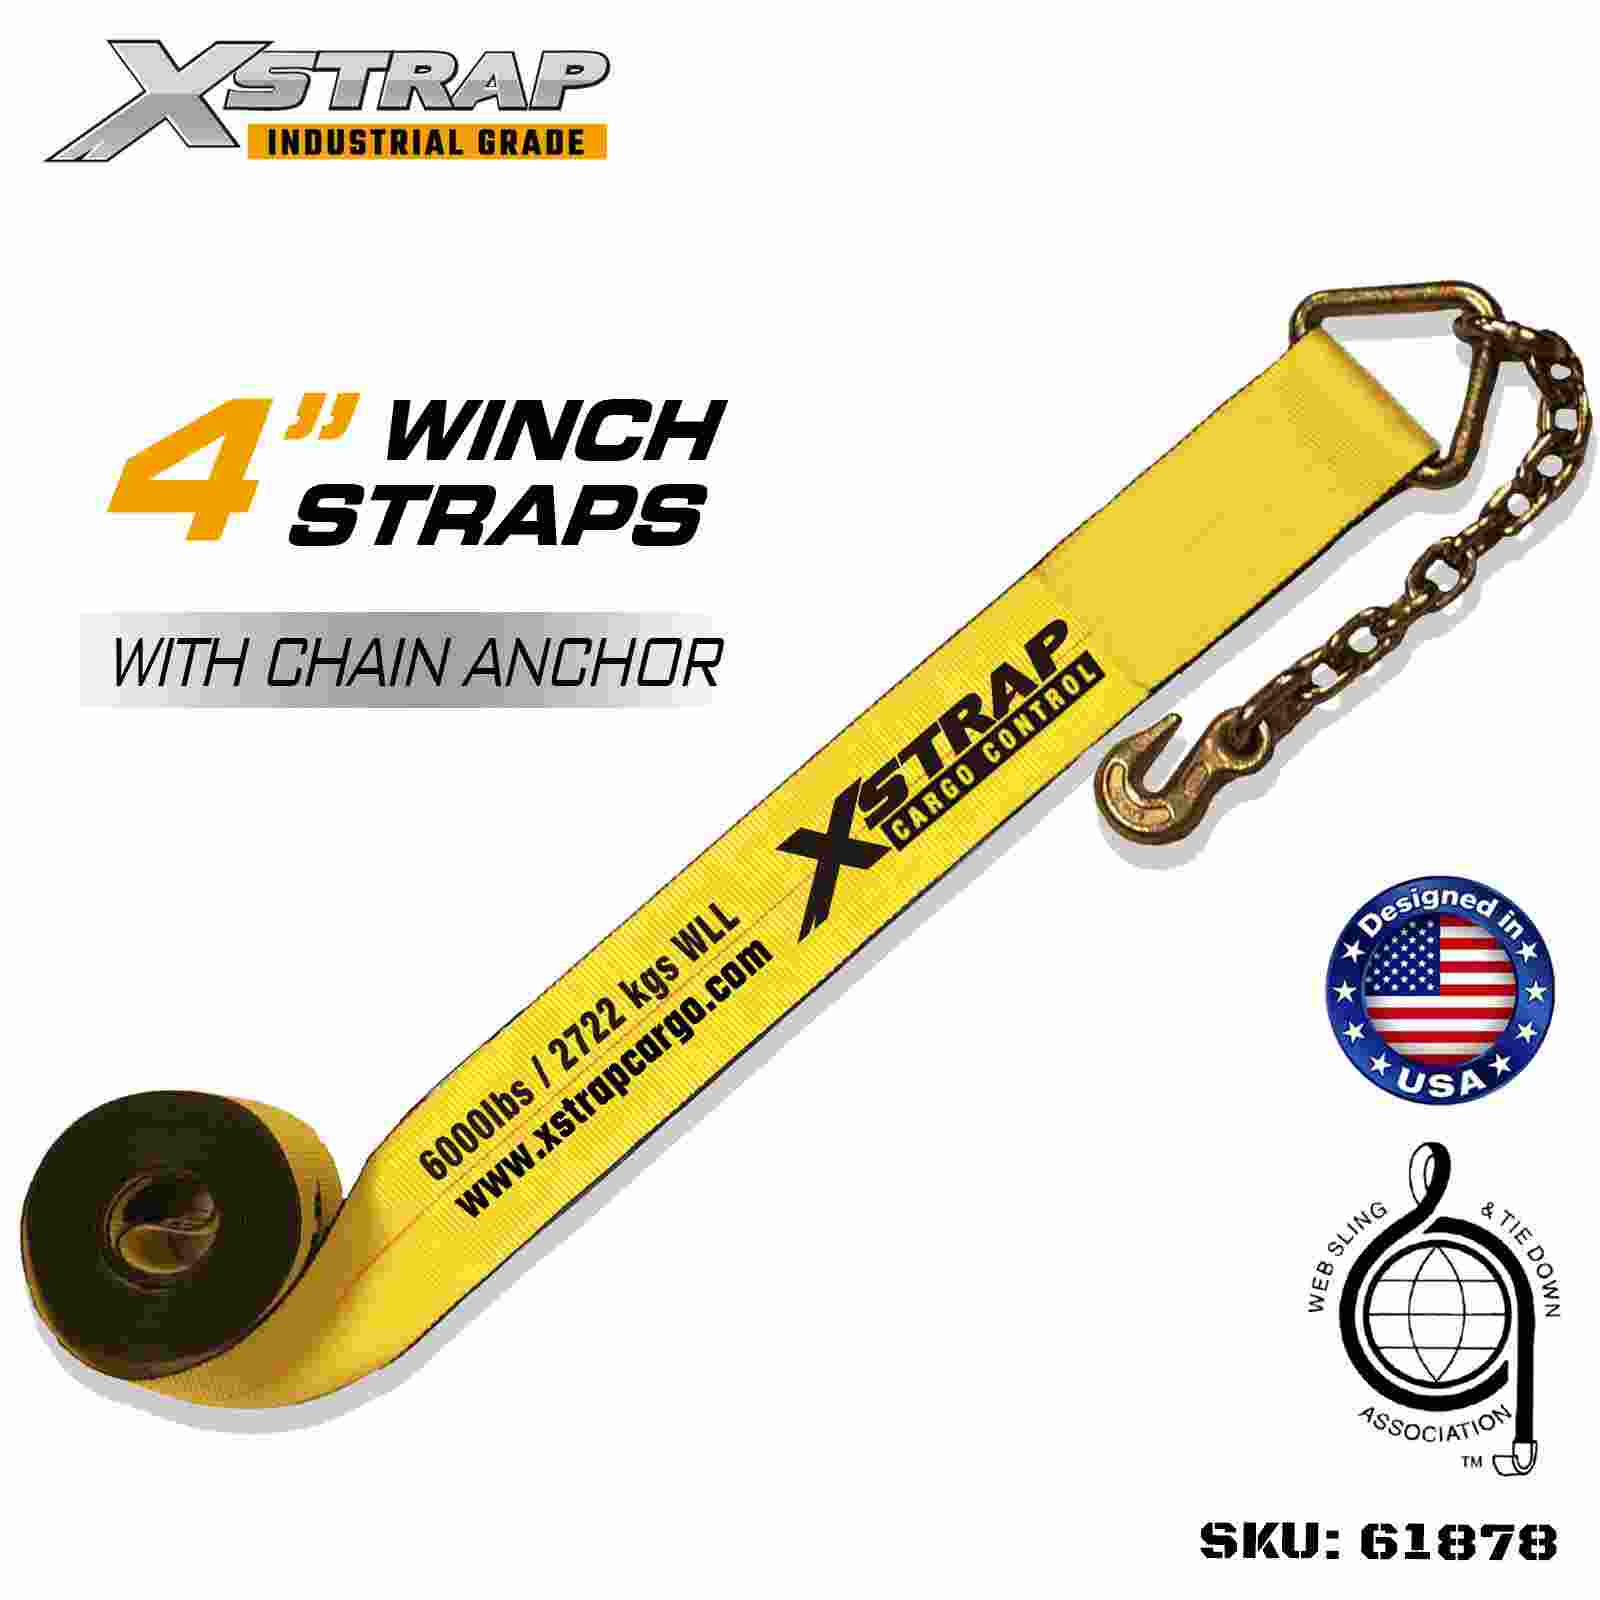
Slides over transport chain or winch track. The standard choice for steel, coils and heavy equipment.
S-hook and J-hook
Common on lighter utility straps. Quick to attach, easy to bend, so keep them for loads within their rating.
Hook geometry changes the way force enters the anchor, which is why two straps with identical webbing can behave very differently in service. The details are worth understanding before you standardise a specification — see this breakdown of how hook geometry changes the way a strap loads an anchor point.
For general flatbed and trailer work, a 2-inch strap with a wide handle is the workhorse: long enough to span most loads, wide enough to spread pressure, and short enough to handle on a windy deck. A 30 ft assembly with a wide handle ratchet is a practical default for a 48 ft trailer, because the extra length lets you reach across a load instead of climbing on it.
Length trap: a strap that needs to be cranked 40 times to take up slack wears faster and tensions less evenly than one that needs eight turns. Buy for the span plus about 1 m of working slack, not for the longest strap on the shelf.
How Many Straps Does a Load Actually Need?
Start with the half-the-weight rule, then apply a practical count. A common field standard for long freight is one strap per 3 m of length with a minimum of two, and at least one strap directly over each point where the load could pivot. Two straps spaced wide apart beat four straps bunched in the middle, because spacing controls rotation rather than just clamping the load to the deck.
- Anything that can slide as a single block needs a strap at each end, not one in the centre.
- Stacked freight needs a strap over each tier, or a cross pattern that ties the tiers together.
- Long items such as pipe, timber or ladder sections need a strap at each end plus one in the middle if the span exceeds about 3 m.
- Cargo that can roll — drums, coils, cable reels — needs the strap to pass over the top of the roll and through or around the chock, not just across the diameter.
If the arithmetic and the layout disagree, trust the layout and add capacity. There is a straightforward set of practical rules for strap count that covers the common trailer and flatbed cases in more depth.
Flatbed, Container and Heavy Equipment Work
Once loads go past roughly 10,000 lb, the strap becomes a restraint device rather than a fastening device, and the whole system has to be considered: deck condition, chocks, friction and the number of anchor points. A 4-inch strap is the usual answer for oversize and long-span work because the wide webbing grips more deck and spreads pressure across the load's top edge.
Three habits separate tidy, safe flatbed work from the alternative:
- Run straps parallel to each other and perpendicular to the load where possible, so tension does not fight itself.
- Use corner protectors anywhere the webbing crosses a steel edge. A sharp edge can cut through tensioned webbing in a few kilometres of vibration.
- Keep a consistent side-to-side pattern, so a load that shifts cannot loosen one side while tightening the other.
For steel plate, coils, machinery and other dense freight, a 4-inch assembly with flat hooks and a 30 ft span covers a wide range of trailer decks and gives you enough webbing to wrap the load path properly. Fewer, wider straps also shorten loading time, which matters on a dock with a queue behind you.
 Xstrap 4-Inch x 30-Ft Ratchet Straps with Flat HooksHeavy-duty 2-pack with 18,000 lbs break strength, 30 ft webbing and flat hooks, suited to flatbed loads and dense freight needing wide secure tie-downs.View Product →
Retractable and Self-Storing Straps
The most common reason a strap is not used is that it is tangled in a storage bin. Retractable ratchet straps solve that by keeping the webbing wound on a spring-loaded reel inside the housing, so the assembly stays a single, tidy unit that can be bolted or hooked in place and left on the vehicle. There is no loose tail in the wind, no knot to untie and no strap left behind on the deck.
They suit repeat jobs: the same ATV, the same motorcycle, the same cargo bed, the same trailer. For work where the load size changes every day, a standard strap with a long webbing tail still gives more reach. A practical compromise is a set of retractable units for the rear of a pickup or van plus a pair of conventional 2-inch straps for oversize days.
Check the retractable mechanism as part of your pre-trip walk-around: pull the webbing out fully, confirm it retracts smoothly and that the lock pawl holds under a firm hand pull before you trust it with a load.
Six Mistakes That Shorten Strap Life
1. Running webbing over a sharp edge
A single steel corner can sever outer yarns in one trip. Add a corner protector and the same strap lasts years instead of months.
2. Using a ratchet strap as a tow or recovery strap
Tie-down webbing has almost no elasticity and the hooks are not designed for shock loads. A recovery strap absorbs snatch force; a tie-down strap transmits it into the anchor.
3. Tensioning against a twist
A twisted strap loses a significant share of its strength and never sits flat on the spool. Straighten the webbing before the first crank.
4. Hooking to the cargo instead of the vehicle
If both ends anchor to the load, the strap holds the load together but not to the trailer. One end must always be on the vehicle.
5. Leaving the handle half open
A closed handle protects the release pawl. A handle left open is a pawl waiting to be knocked loose by a bump.
6. Storing wet and coiled tight
Trapped moisture and dirt accelerate fibre degradation. Hang straps loose to dry before they go back in the toolbox.
Inspection: Pass, Caution or Retire
Inspect every strap before each use and formally at least once a quarter for fleet equipment. The check takes under a minute per strap and is entirely visual and tactile. Work along the full length of the webbing in your hands, feel for stiff or glazed patches, and look closely at both the stitching and the hardware.
| Condition found | Status | Action |
|---|---|---|
| Light surface fuzz, no broken yarns | Pass | Keep in service and monitor at each inspection |
| Abrasion through the outer weave, core intact | Caution | Remove from primary or overhead-adjacent use, downgrade to light duty |
| Cut, tear or exposed core yarns | Retire | Cut the webbing so the strap cannot re-enter service |
| Stitching pulled or broken over 25 mm | Retire | Replace the assembly, do not re-stitch in the field |
| Hook bent, latch missing or throat opened up | Retire | Replace the hardware or the whole strap |
| Ratchet slips under load or pawl spring feels weak | Retire | Replace the buckle, the spring is not a serviceable part |
| Webbing stiff, brittle, or faded to a pale shade | Retire | Assume UV or chemical damage and replace |
Record the retirement. A strap that comes back into the rack because nobody wrote it off will eventually be used by someone who did not see the damage.
Heat, UV, Salt and Storage
Synthetic webbing degrades quietly. Ultraviolet light breaks down the polymer chains and shows up first as a chalky, faded surface and a slightly stiff hand feel. Salt spray attacks the hooks and ratchet plating long before the webbing shows anything. Heat from exhaust components or hot cargo can glaze the surface and reduce strength with no visible cut at all.
- Store straps indoors, hung loose or coiled loosely, away from direct sunlight and window glass.
- Keep webbing away from oil, diesel, battery acid and solvents; contamination cannot be washed out of the fibre.
- Rinse salt-exposed hardware with fresh water and dry it before storage, then check the pawl action.
- Route straps clear of exhaust runs and hot engine components on vans and flatbeds.
- For coastal and high-humidity operations, choose polyester webbing and plated or stainless hardware, and inspect more often.
Polyester is the default for most cargo work because it stretches less than nylon under load, holds tension better over a long trip and resists UV and moisture more predictably. Nylon still has a place where shock absorption matters more than low stretch.
Frequently Asked Questions
Can I use a ratchet strap to tow a vehicle?
No. A ratchet tie-down is designed to hold a stationary load, not to transmit the dynamic force of a rolling vehicle. Towing and recovery require purpose-built straps with controlled stretch and rated end fittings. Using a tie-down strap for towing loads the hooks and webbing in ways they were never designed for, and the failure happens suddenly.
Why does my ratchet strap keep coming loose?
Usually one of four causes: the webbing was threaded with a twist, too few wraps were left on the spool, the load settled after the first few kilometres, or the strap runs at a steep angle where vibration works it free. Re-thread flat, keep three wraps on the barrel, and re-tension after the first stop.
How tight should a ratchet strap be?
Tight enough that the load cannot move by hand and the webbing deflects only slightly under firm thumb pressure. It should not be so tight that cartons crush, panels bow or hooks start to straighten. Rigid loads need a snug strap at the right angle; compressible loads need re-tensioning after settling.
What is the practical difference between a 2-inch and a 4-inch strap?
Capacity and contact area. A 2-inch assembly typically carries a 3,333 lb working load limit, a 4-inch assembly around 5,400 lb, and the wider webbing spreads pressure across a longer section of the load's top edge. For long spans and dense freight the wider strap also lets you use fewer assemblies for the same aggregate capacity.
Can ratchet straps get wet?
Yes, and polyester handles it well. What matters is drying them before storage. Coiling a wet strap tightly traps moisture against the hardware and encourages corrosion and mildew. Hang it loose, let it dry, then check the ratchet action before the next trip.
How long do ratchet straps last?
There is no fixed service life. A well-treated polyester strap used indoors can last years, while the same strap used daily on a flatbed in coastal conditions may need replacing within a season. Replace on condition, not on age: cuts, exposed core yarns, pulled stitching, bent hooks or a slipping pawl all mean the strap is finished.
Do I really need corner protectors?
If the webbing touches a steel edge, a machined corner or a sharp load profile, yes. Corner protectors are inexpensive and they are the difference between a strap that survives twenty trips and one that fails on the first. Rubber protectors suit painted and finished cargo; polymer and steel protectors suit structural steel and heavy plate.
How do I release a ratchet strap that is stuck?
Take the tension off first. Push the handle down a little, hold the release pawl open, then work the handle in small strokes while pulling the tail. If the webbing is jammed between the spool and the frame, free it by hand rather than prying with a tool, and cut away any crushed section before the strap goes back into service.
Is a cam buckle better than a ratchet for light loads?
A cam buckle is faster to adjust and perfectly adequate for motorcycles, luggage and light utility loads within its rating. It offers no mechanical advantage, so the tension you get is the tension your hands can produce. Above roughly 500 lb of load, or wherever vibration is a factor, a ratchet buckle holds tension far more reliably.
Popular Products
Recent News
 How Do You Choose the Right Utility Tie Downs and Bungee Cords for Your Needs
Introduction
When it comes to securing your gear for transport, storage, or organization, Utility Tie Downs and Bungee Cords are essential tools. Whether you're hauling heavy loads...
 The Ultimate Guide to Ratchet Straps: Choosing, Using, and Maintaining Them
Introduction to Ratchet Straps
What Are Ratchet Straps?
Ratchet straps, also known as tie-down straps or cargo straps, are a type of load securement tool widely used in transportat...
 How Can Ratchet Tie Down Standard Duty Straps Ensure Safe and Reliable Cargo Securement
What Are Ratchet Tie Down Straps and Why Are They Important for Cargo Securement?
Introduction to Ratchet Tie Down Straps
Ratchet tie down straps are essential tools for anyone inv...
 What are Ratchet Straps and how do they help you transport your items safely
What Are Ratchet Straps?
Ratchet straps, also known as ratchet tie-downs or cargo straps, are heavy-duty fastening tools designed to secure items during transportation. They consis...
 How to Properly Use Light Duty Ratchet Tie Downs for Maximum Load Security
Understanding the Basics of Ratchet Tie Down Light Duty Straps
Ratchet tie-down straps are a critical tool in the transportation, storage, and securement of goods. They are used to...
-
 +86-18112697781qindan355@gmail.comNo. 21 Yuefeng Road, Yangshe Town, Zhangjiagang City, Suzhou City, Jiangsu Province
-
Quick Links
Social Media
-
OEM Partner
-


Copyright © 2025 Zhangjiagang SMK MFG. Co., Ltd. All rights reserved.
 Wholesale Tension Strap Manufacturers