
 English
 Français
 Español

Home / News / Industry News / How to Feed a Ratchet Strap: The Complete Step-by-Step Guide for Safe Tie-Down
How to Feed a Ratchet Strap: The Complete Step-by-Step Guide for Safe Tie-Down
2026-10-09
Load Geometry: Why Angle and Wrap Decide Whether a Strap Holds
Most discussions about ratchet straps focus on the strap itself. In practice, the strap is only one variable in a system that also includes the anchor point, the angle between the webbing and the load surface, the number of times the webbing wraps around the cargo, and the friction between the cargo and the deck. Change any one of those and the same strap behaves completely differently. Two identical 2-inch straps, applied at different angles on the same load, can produce holding forces that differ by more than a factor of two.
This section deals with the geometry of securement rather than the hardware. It is the part of cargo control that drivers learn last and forget first, and it is the part that most often explains why a load that looked secure at the depot has shifted by the time the vehicle reaches the first motorway junction.
The vertical strap myth
A strap that runs straight down from an anchor point above the cargo to a point directly below it is often assumed to be the strongest possible arrangement. It is not. A purely vertical strap applies force in one direction only, and it relies entirely on friction between the cargo and the deck to prevent horizontal movement. If the deck is smooth, wet, or coated with dust, that friction may be far lower than the driver assumes.
An angled strap does two things at once. It presses the cargo down against the deck, and it also pulls horizontally against the direction of potential sliding. The horizontal component is what resists forward movement under braking. The vertical component is what generates friction. Both are necessary, and the balance between them changes with the angle.
Steep angle (60–90°)
High downward force, low horizontal restraint. Effective for preventing bounce and vertical movement, but weak against forward slide unless friction is high. Common on top-heavy equipment where vertical control matters most.
Moderate angle (30–60°)
The practical working range for most flatbed and trailer applications. Provides a useful combination of downward pressure and horizontal restraint. Most cargo securement guidance settles in this band.
Shallow angle (below 30°)
Low downward force, high horizontal restraint. The strap can slide along the cargo surface under vibration, and the tension required to hold the load rises sharply. Rarely the right choice unless the anchor points are very low.
The practical rule is straightforward. Aim for a strap angle between roughly thirty and sixty degrees to the deck. Below that, tension requirements climb faster than most drivers expect. Above that, horizontal restraint drops and the load can creep forward under repeated braking.
How wrap count changes the tension you need
Wrapping the webbing around the cargo before anchoring it changes the arithmetic significantly. Each additional wrap adds a friction interface, and that interface carries part of the load without requiring additional tension in the strap. A single wrap around a crate can reduce the tension needed to hold it in place by a third or more, depending on the surface friction between webbing and crate.
Relative tension required to resist sliding, by wrap count
Values are indicative and depend on the friction coefficient between webbing and cargo surface. Smooth painted steel reduces the benefit; rough timber or rubber matting increases it.
Wrap count is not a substitute for correct angle, and it is not a substitute for adequate strap capacity. It is an additional tool. On smooth cargo such as painted machinery housings or polished panels, a wrap can be the difference between a secure load and one that creeps half a metre during a long drive.
Friction, deck surface and the coefficient nobody measures
The friction between cargo and deck is the single least controlled variable in most securement setups. It depends on the materials in contact, the presence of water, oil, dust or ice, and the surface finish of both the cargo base and the deck.
| Cargo base | Deck surface | Friction behaviour | Practical implication |
|---|---|---|---|
| Rough sawn timber | Wooden flatbed | High | Lower tension adequate; fewer straps may suffice |
| Painted steel housing | Steel deck, dry | Moderate | Standard tension; watch for lateral creep |
| Painted steel housing | Steel deck, wet | Low | Add wraps or increase strap count |
| Rubber-tyred equipment | Aluminium deck | Moderate to high | Tyres grip well; focus on axle restraint |
| Plastic crates or pallets | Steel deck | Low | Wrap or use anti-slip matting under the load |
| Any smooth base | Ice or frost | Very low | Increase strap count substantially; consider chains |
Anti-slip matting is an inexpensive addition that changes the equation more than most drivers realise. A rubber mat under a smooth load can raise the effective friction coefficient enough to halve the tension required from the straps. It is one of the few cargo accessories where the cost-to-benefit ratio is overwhelmingly favourable.
Inside the Ratchet: Leverage, Tooth Engagement and Handle Travel
The ratchet mechanism is a simple machine, but the details of its geometry determine how much force you can apply and how smoothly the strap tightens. Two ratchets of the same nominal size can feel completely different in the hand for reasons that have nothing to do with the webbing.
Handle length and mechanical advantage
The handle is a lever. Its length, measured from the pivot to the point where force is applied, sets the mechanical advantage. A longer handle requires less hand force for the same tension, which matters when you are tightening a heavy load in cold weather or at the end of a long day.
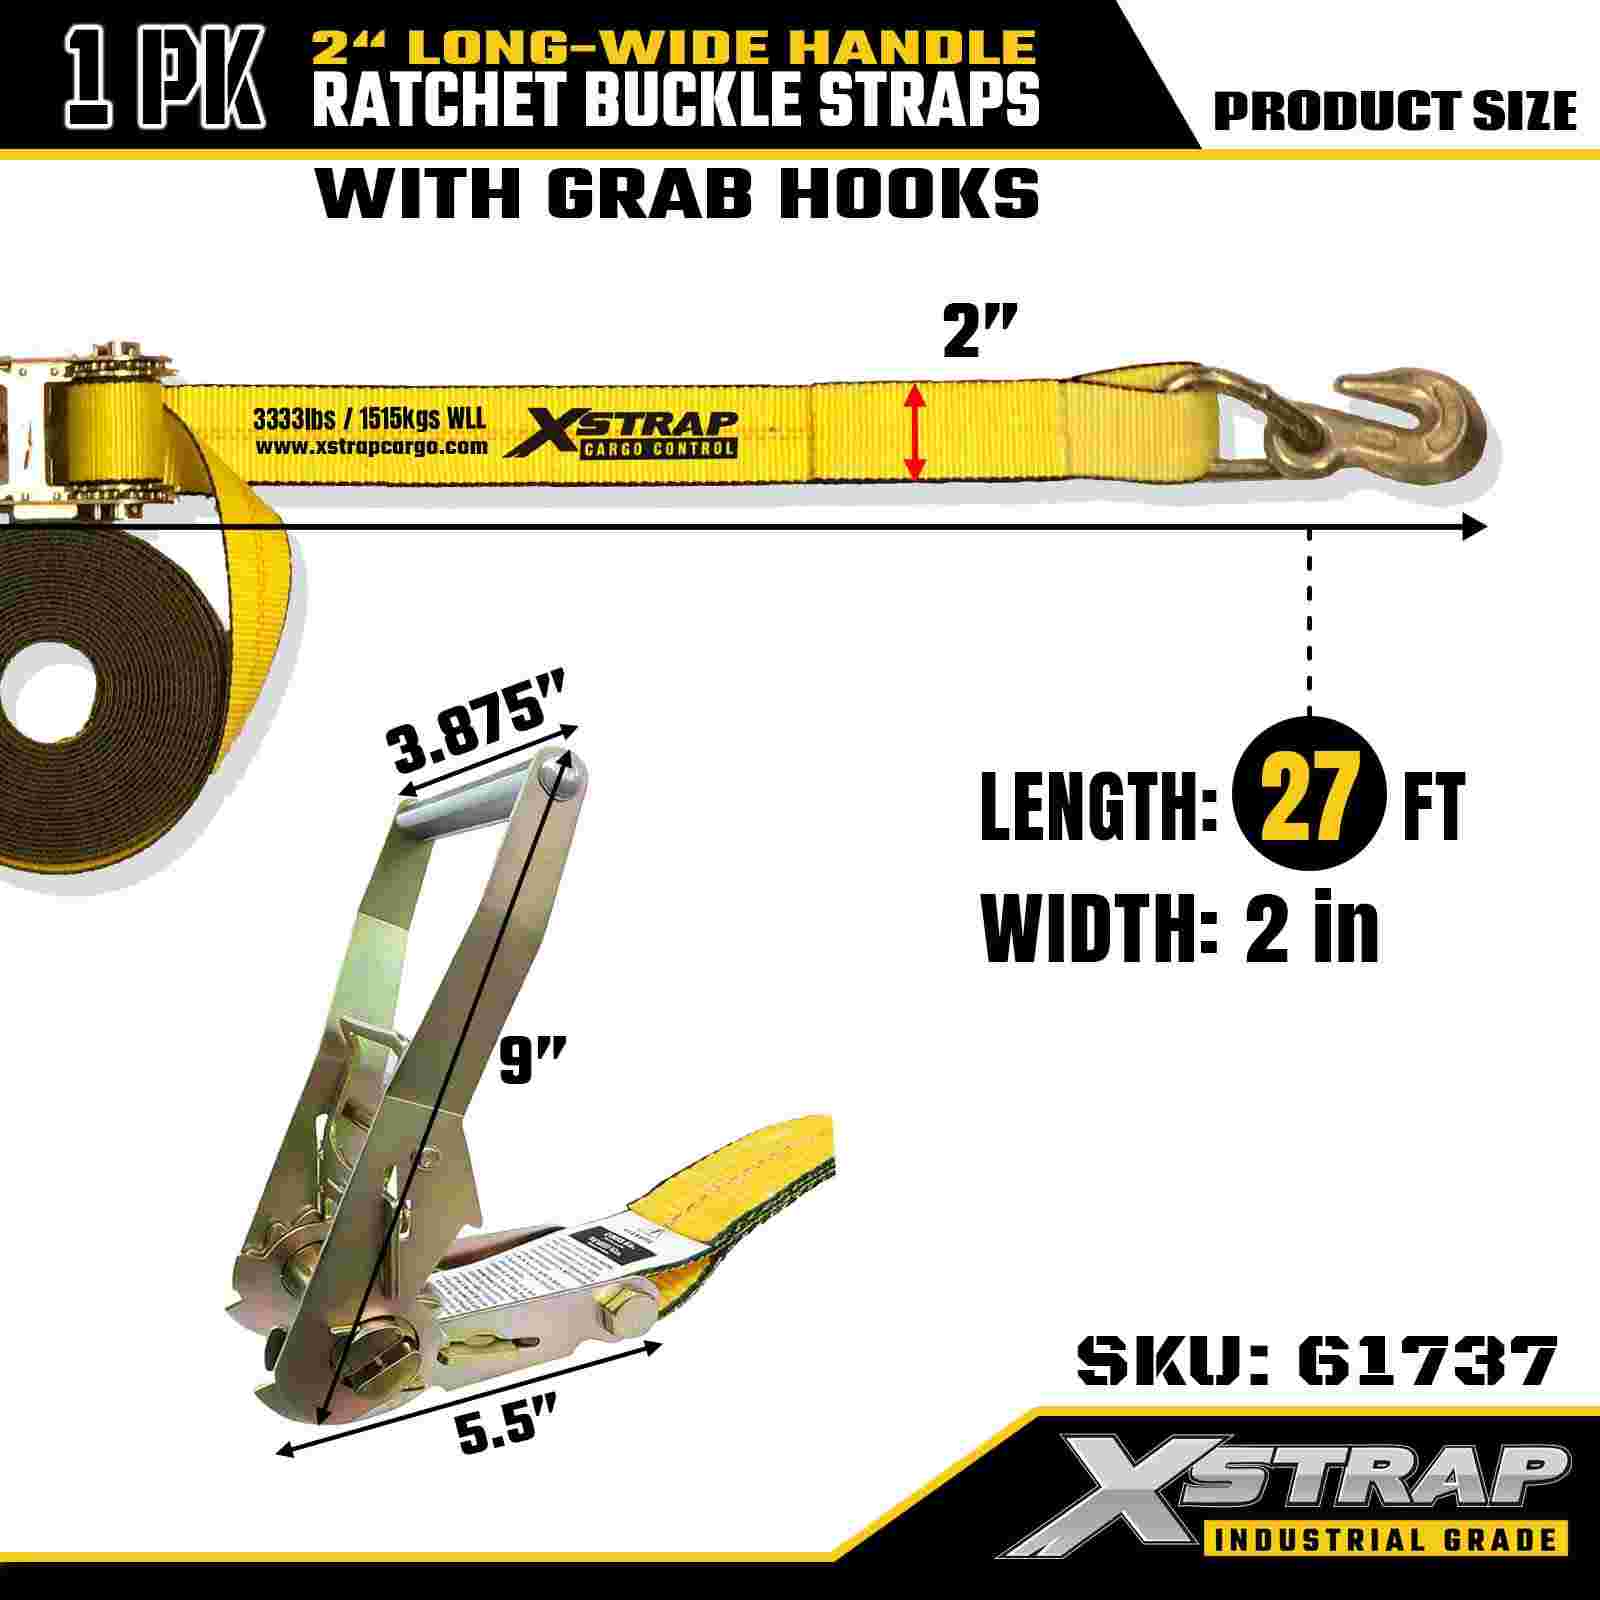
This is why wide-handle ratchets have become common on heavier straps. The wider grip does not change the leverage, but it distributes hand pressure over a larger area and allows a more comfortable pull. The longer handle, which usually accompanies the wider grip, does change the leverage.
Standard handle
Typical for light and medium straps. Adequate for loads under a few hundred kilograms. Requires more strokes and more hand force to reach high tension.
Wide handle
Common on 2-inch and larger straps. The wider grip reduces hand fatigue and the longer lever arm makes high tension achievable with less effort. Frequently paired with a longer overall strap length.
Long handle
Used where maximum tension is needed. The trade-off is that the handle occupies more space when folded and can be awkward in tight anchor positions.
Tooth engagement and take-up per stroke
A ratchet gear with more teeth does not automatically produce higher tension. What matters is how much webbing the spool takes up per stroke of the handle. A gear with many teeth and a large spool diameter may advance the strap by a similar amount to a gear with fewer teeth and a smaller spool.
What tooth count does affect is smoothness and the size of the increments. A finer tooth pattern produces smaller steps and a smoother feel, which is useful when you are approaching the final tension and want precise control. A coarser tooth pattern produces larger steps and a more positive engagement, which some users prefer on heavy loads where the ratchet needs to bite decisively.
Take-up per stroke also depends on how far the handle travels. A full stroke from fully open to fully closed moves the spool further than a partial stroke. This is why pumping the handle in short movements produces slow progress, while full strokes tighten the strap efficiently. The habit of using full strokes is worth cultivating, because it reduces the number of cycles needed and reduces wear on the gear and pawl.
Pawl spring tension and release behaviour
The pawl is the small component that engages the gear teeth and prevents the spool from turning backwards. Its spring determines how firmly it sits in the tooth and how easily it releases.
-
Weak spring tension. The pawl may skip teeth under load, producing a slipping sensation and allowing the strap to lose tension gradually. This is a defect, not a technique problem.
-
Strong spring tension. The pawl engages firmly and holds reliably, but releasing the ratchet requires more force on the release lever. Some users find this uncomfortable with gloves on.
-
Worn pawl or gear teeth. The engagement becomes unreliable. A ratchet that has been used heavily for years may need replacement even if the webbing is still in good condition.
A ratchet that clicks cleanly through its full range and locks positively when the handle is folded down is a ratchet in good condition. A ratchet that slips, grinds, or requires force to engage is not, and no amount of correct threading will compensate for it.
Webbing Twist, Knots and the Habits That Prevent Both
A twisted strap is a weakened strap. The twist concentrates stress along one edge of the webbing, reduces the effective load-bearing cross-section, and causes the strap to track unevenly on the spool. Over time, a strap that is repeatedly tightened with a twist will develop edge fraying and may fail earlier than its rating suggests.
Why webbing twists in the first place
Twisting rarely happens by accident. It usually has one of four causes.
-
Webbing memory from storage. A strap that has been coiled tightly for months develops a set in the weave. When it is unrolled, it tends to twist back into the shape it held in storage. Allowing the strap to hang free for a minute before threading lets the memory relax.
-
Threading over the top of the spool. When the webbing is fed over the top instead of from underneath, it enters the slot at an angle and frequently folds as it passes through. The fold becomes a twist further along the strap.
-
Worn or contaminated webbing. Abraded fibres create a rough surface that catches on itself. A strap that has been dragged across gravel or stored on a dirty floor is far more likely to twist during threading.
-
Rushing the first few inches. The first six to eight inches of webbing that pass through the slot set the pattern for the rest. If those inches go through cleanly and flat, the remainder usually follows.
A simple anti-twist routine
The routine takes less than a minute and eliminates most twist problems before they begin.
-
Unroll the strap and let it hang from the ratchet end for a few seconds. Gravity removes most of the stored set.
-
Lay the free end flat on the deck and run your hand along its length, checking for twists with your palm.
-
Feed the first six inches through the slot slowly, keeping the webbing flat between thumb and forefinger.
-
Pull through at least another two inches before applying any tension, so the webbing settles into the slot correctly.
-
Take up the slack by hand, keeping the webbing flat, before the first ratchet stroke.
The final point matters more than it appears. Taking up slack by hand allows you to see and correct any twist before it is buried under tension. Once the ratchet has been pumped, a twist that formed during the first stroke is locked into the spool and cannot be corrected without releasing the strap and starting again.
Knots, tangles and what to do when the strap jams
A strap that has jammed in the spool is usually the result of a knot forming in the webbing as it was pulled through. Knots form when the free end catches on the ratchet frame or on a hook during threading, causing the webbing to fold back on itself.
The remedy is to release the tension completely before attempting to remove the webbing. Pulling harder on a jammed strap tightens the knot and can damage the weave. Open the handle fully, engage the release lever, and work the webbing out slowly by hand. If the knot is deep inside the spool, removing the ratchet from the anchor point entirely and working on a flat surface makes the job easier.
When to stop and replace rather than untangle
If removing a jammed strap requires force, or if the webbing shows any sign of deformation after it is freed, retire the strap. Internal fibre damage from a hard pull is not always visible from the outside, and a strap that has been overloaded during untangling may have lost capacity even though it looks intact.
Edge Protection, Wear Points and the Parts of a Load That Fail First
Webbing fails at edges. The flat middle of a strap rarely breaks; the damage almost always starts where the webbing contacts a sharp corner, a rough weld, a bolt head, or a metal hook. Understanding where wear concentrates lets you protect the strap at the few points that actually matter.
The three wear zones on every strap
The anchor contact zone
Where the webbing meets the hook or the anchor point. This is where the highest point loads occur, because the webbing bends sharply around the hardware. A hook with a small radius concentrates stress on a narrow band of fibres.
The cargo contact zone
Where the webbing crosses the edge of the load. Sharp corners, weld beads and machined edges all cut into the weave under tension. This is the most common location for a strap to fail in service.
The spool entry zone
Where the webbing enters the ratchet slot. Repeated flexing at this point, combined with abrasion from the slot edges, gradually thins the webbing. A strap that has been used heavily often shows its first wear here.
Protection options and when each one earns its place
| Protection type | How it works | Best used when |
|---|---|---|
| Corner protector sleeve | Slides over the webbing at the contact point, spreading load over a wider area | Strapping loads with sharp or machined edges, such as steel sections and machined castings |
| Rubber edge cap | Fits over the cargo edge itself, providing a soft radius for the strap to bend around | Repeated loads of the same type, where the edge is predictable |
| Anti-slip mat | Placed between cargo and deck, raising friction and reducing required tension | Smooth loads on smooth decks, or any load in wet conditions |
| Protective webbing wrap | Extra length of webbing wrapped around the contact point before tensioning | Field improvisation when dedicated protectors are not available |
| Soft loop end fitting | Replaces the metal hook with a fabric loop at the anchor end | Anchoring around painted surfaces or delicate components where hooks would scratch |
The minimum bend radius is another consideration that is often overlooked. Webbing should not be forced around a radius smaller than roughly its own width. A two-inch strap bent around a half-inch bar concentrates stress on a very small number of fibres, and the strap may fail at that point even though the rest of the webbing is in perfect condition.
Where the cargo has an unavoidably tight radius, a longer protector or a wider contact pad spreads the load. It costs seconds at the loading stage and can extend strap life by years.
Hook Styles in Depth: Matching the End Fitting to the Anchor
The hook is the interface between the strap and the vehicle. Choosing the wrong hook for an anchor point is a common source of frustration, and in some cases a source of danger. A hook that does not sit fully on its anchor can work loose under vibration, and a hook that is too small for a thick anchor bar may not engage properly at all.
The main hook families and where each one belongs
Flat hook
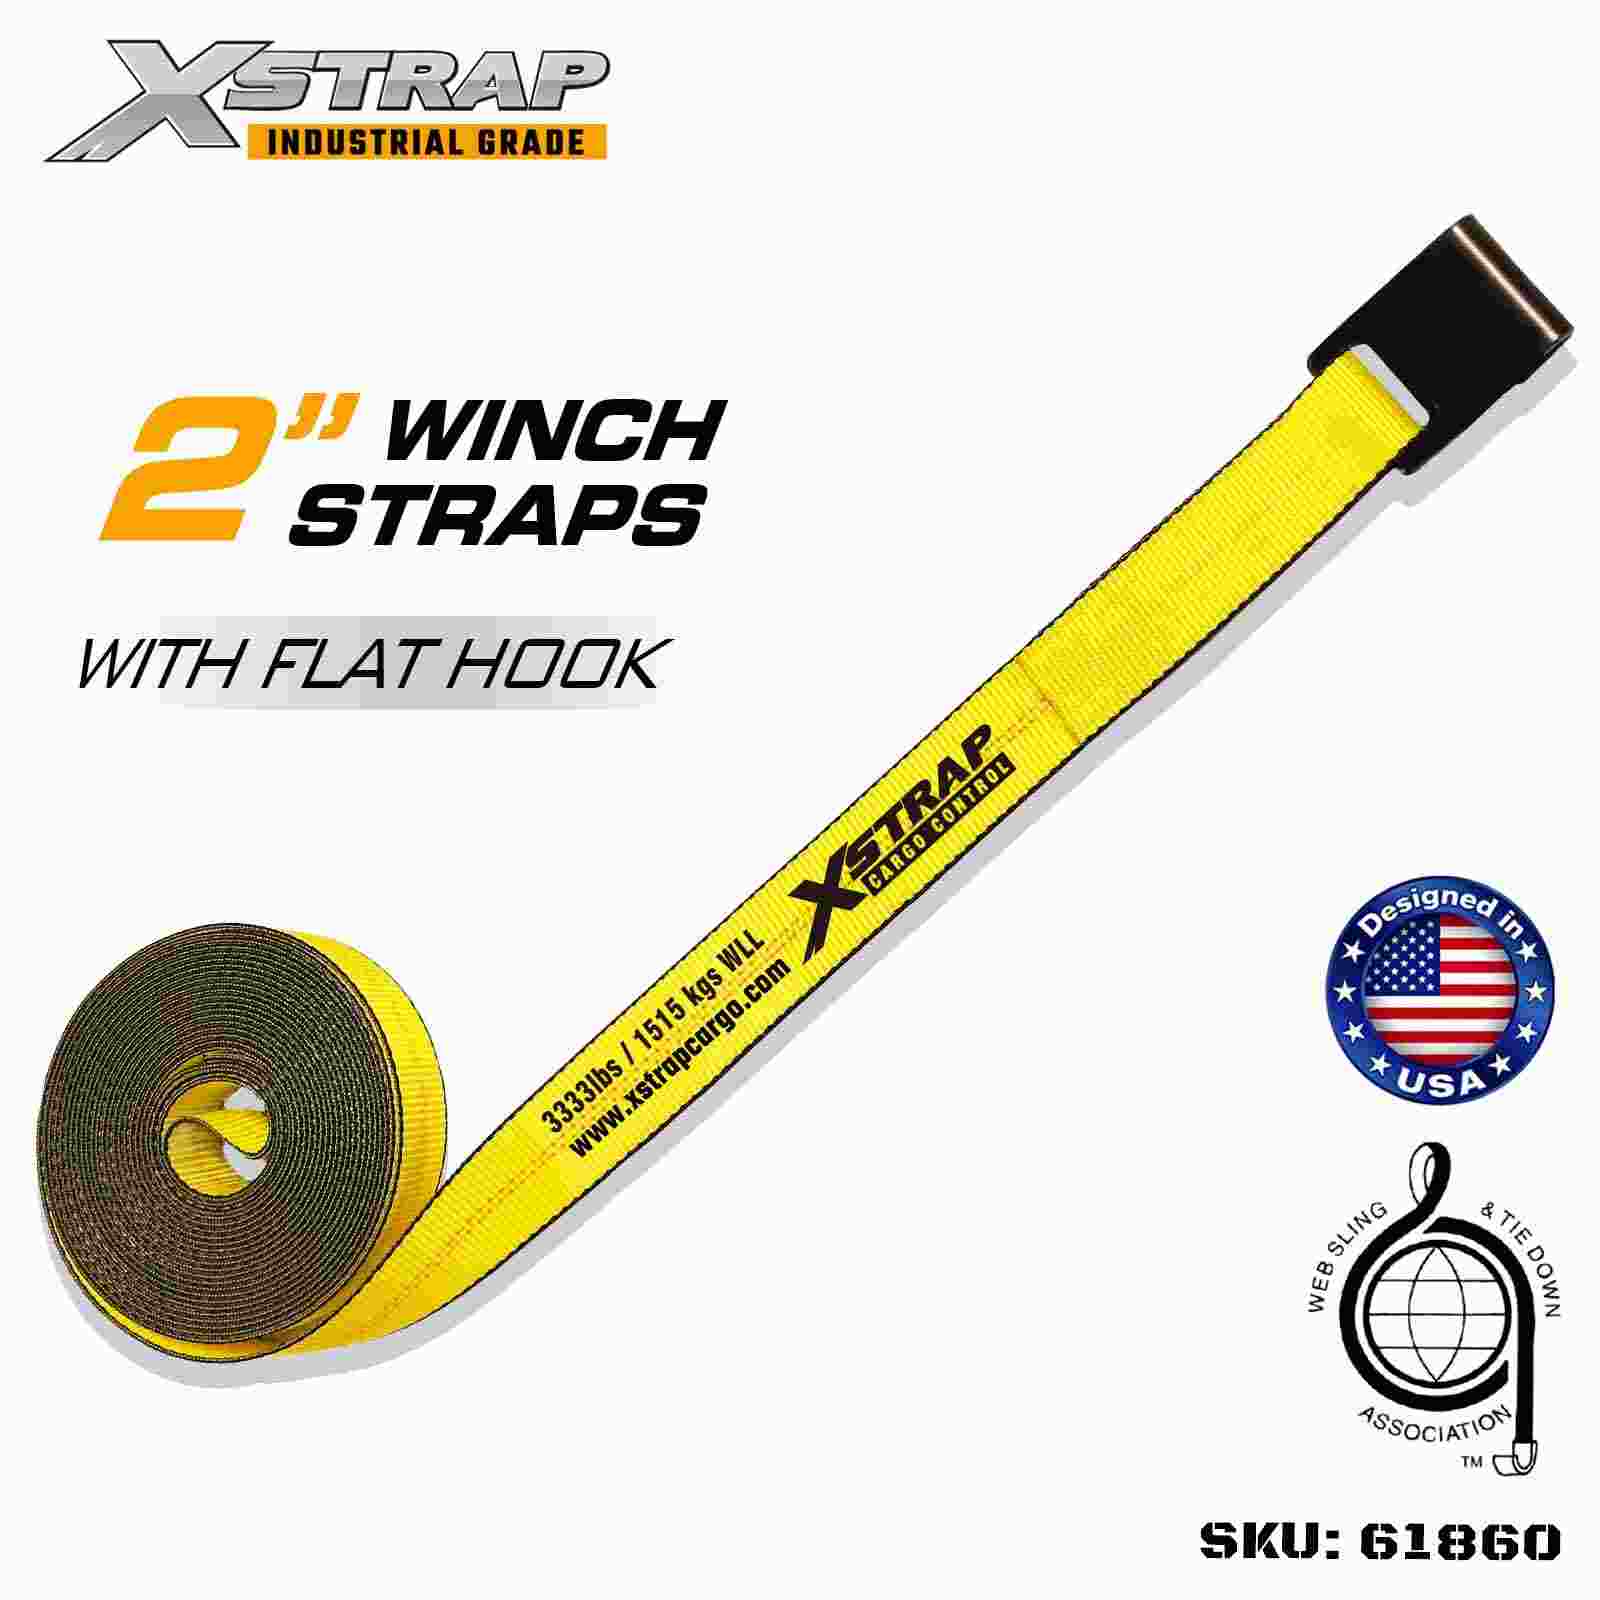
A wide, flat profile designed to sit over the top rail of a trailer or into a stake pocket. The flat face spreads load and resists twisting. Best for flatbed and trailer applications where the anchor is a rail or a pocket rather than a ring.
Wire hook
Made from bent wire with a rounded profile. Fits around round tubes, small rings and narrow anchor points. Common on light and medium straps where the anchor is a bar rather than a rail.
Snap hook
Fitted with a spring-loaded gate that closes the opening. Prevents the hook from bouncing off the anchor under vibration. Common on vehicle tie-down points and where the strap may go slack momentarily.
J-hook
A curved hook with a deep throat, designed to engage a chain link or a dedicated hook ring. Frequently used with chain extensions when the anchor point is beyond the reach of the strap.
Double J-hook
Two J-hooks on a single fitting, used where the anchor provides two chain legs. Distributes load across both legs and reduces the chance of the hook shifting.
S-hook
An open hook with a simple S profile. Quick to attach but easy to dislodge. Suitable for light, temporary securement rather than heavy or long-distance transport.
Chain extensions and reach problems
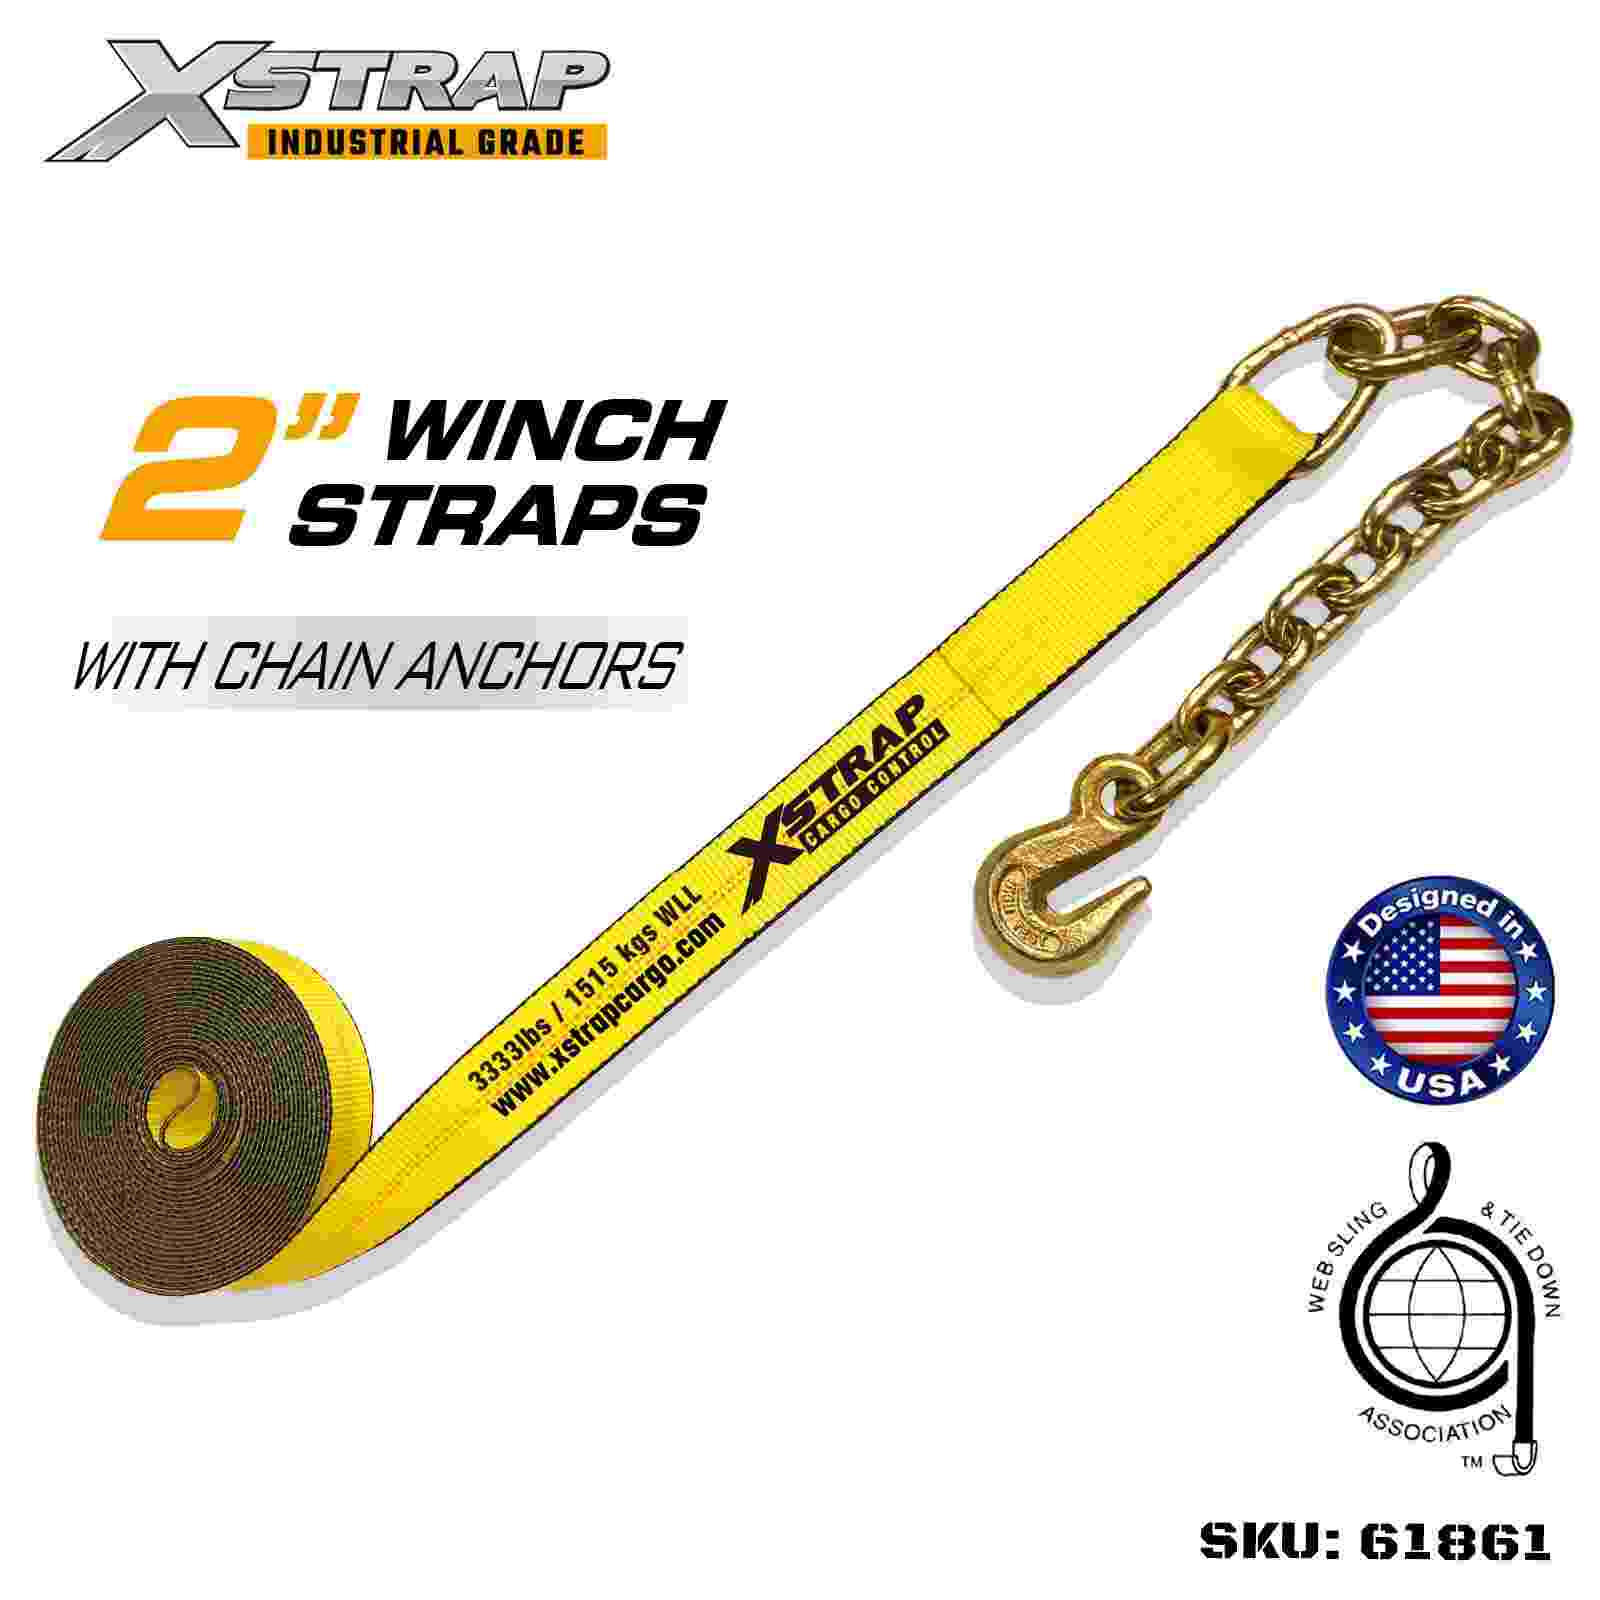
Many heavy vehicles are fitted with chain anchor points rather than rings. When the anchor is too far from the cargo for the strap to reach, a chain extension bridges the gap. The chain attaches to the anchor with a grab hook and presents a J-hook or a ring at the other end for the strap to connect to.
Chain extensions are useful, but they introduce an additional connection that must be checked. Each link in the system — anchor, chain, grab hook, J-hook, strap hook — is a potential point of failure. Keeping the number of connections to a minimum is good practice, and using a strap long enough to reach the anchor directly is preferable when the geometry allows.
A quick check before every hook-up
Seat the hook fully on the anchor. Confirm the hook cannot slide sideways off the anchor under load. Check that the hook opening is wide enough for the anchor bar and that the hook body is not resting on a weld bead or a sharp edge. A hook that sits at an angle because it is too small for the anchor will wear and may release.
Webbing Materials Compared: Polyester, Nylon, Polypropylene and High-Performance Fibres
Not all webbing is the same, and the differences matter in ways that are not visible from a photograph. The fibre determines how the strap behaves under load, how it responds to sunlight and moisture, and how long it lasts in a given environment.
| Fibre | Strength for weight | Stretch under load | UV resistance | Moisture behaviour | Typical use |
|---|---|---|---|---|---|
| Polyester | High | Low, typically 5–6% at break | Good | Low absorption, stable when wet | General cargo securement, flatbed, vehicle transport |
| Nylon | High | Higher, typically 15–20% at break | Moderate | Absorbs moisture, strength drops when wet | Shock-absorbing applications, dynamic loads |
| Polypropylene | Moderate | Moderate | Poor | Very low absorption, floats | Light-duty, temporary, cost-sensitive applications |
| High-performance fibres | Very high | Very low | Varies by fibre | Generally stable | Weight-critical and high-value loads, specialist applications |
For the vast majority of cargo securement work, polyester is the right answer. Its combination of low stretch, good UV resistance and stable behaviour when wet makes it predictable. Low stretch matters because a strap that elongates under load allows the cargo to move, and repeated movement loosens the strap further.
Nylon is sometimes chosen for its ability to absorb shock, which can be useful when the load itself moves slightly in transit, such as a suspended component on a trailer. The trade-off is that nylon absorbs water and loses some strength when wet, so it is less suited to open-deck transport in wet climates.
Polypropylene is the cheapest option and the least durable. It degrades quickly in sunlight and stretches more than polyester under the same load. It has a place in light, short-term applications, but it is not the right choice for anything that will be transported regularly or over long distances.
High-performance fibres are used where weight is critical or where the load value justifies the cost. They are not common in general cargo work, but they appear in specialist applications such as aviation cargo and high-value equipment transport.
Working Through a Load Calculation: A Practical Example
Most drivers estimate strap requirements by eye. That works reasonably well for familiar loads, but it fails when the load changes, the deck changes, or the journey involves conditions the driver has not encountered before. Working through the calculation once makes the estimation process more reliable afterwards.
The example
A wheeled machine weighing 4,500 lb is loaded onto a flatbed trailer. The deck is steel, dry, and in good condition. The machine has rubber tyres and a smooth painted body. The anchor points are on the trailer deck, roughly level with the base of the machine. Four anchor points are available, two on each side.
Step one: determine the required restraint
Cargo securement guidance in most jurisdictions calls for restraint capacity that is a proportion of the cargo weight, with the proportion depending on the direction of potential movement. Forward restraint requirements are typically higher than lateral or rearward. As a working figure, many practitioners use a forward restraint target of around half the cargo weight, with additional allowance for lateral movement.
For a 4,500 lb load, that suggests a forward restraint target in the region of 2,250 lb, distributed across the straps that resist forward movement.
Step two: account for angle
If the straps run at roughly 45 degrees to the deck, the horizontal component of each strap's tension is about 70 percent of the tension in the strap. To produce 2,250 lb of horizontal restraint, the total strap tension needs to be higher than 2,250 lb.
This is the point where many estimates go wrong. The strap's working load is not the same as the horizontal restraint it provides. A strap rated at 3,000 lb working load, running at 45 degrees, contributes roughly 2,100 lb of horizontal restraint at full tension — and it should not be tensioned to its full working load in normal use.
Step three: account for friction and wrap
The rubber tyres and the dry steel deck provide useful friction. If the machine is chocked or the tyres are restrained, the friction contribution can be significant. If the machine is on smooth skids rather than tyres, the friction contribution is much smaller and the straps must do more of the work.
Anti-slip matting under the machine would raise the friction contribution further and reduce the tension required from the straps.
Step four: choose strap count and capacity
With four anchor points available and straps running at approximately 45 degrees, a common arrangement would be four two-inch straps, one at each corner, each rated well above the calculated per-strap requirement. The additional straps provide redundancy and reduce the load on any single strap.
What the calculation gives you
A defensible minimum strap count and a realistic expectation of what each strap must contribute. It also reveals when a single large strap is not enough and when two smaller straps are the better arrangement.
What it does not give you
Certainty. Real loads move, straps stretch, and friction changes with weather. The calculation sets a floor, not a target. Adding a strap beyond the calculated minimum is almost always the right choice on a long journey.
Environmental Factors: Sunlight, Temperature, Chemicals and Salt
A strap that performs well in a warehouse may degrade quickly in the open. The environment in which the strap is used and stored has a direct effect on its service life, and understanding those effects helps predict when a strap should be replaced.
Ultraviolet exposure
Sunlight breaks down the polymer chains in webbing. Polyester resists UV better than polypropylene but is not immune. The visible signs are fading, a chalky surface, and a gradual loss of flexibility. A strap that has been left on an open trailer for a full summer will age faster than one stored indoors between trips.
The effect is cumulative. A strap does not recover from UV exposure, and the loss of strength is permanent. This is one reason why regular inspection matters more than age alone as a replacement criterion.
Temperature extremes
Cold makes webbing stiff and less able to conform to anchor points, which can increase the risk of damage at sharp edges. Very cold conditions also make the ratchet mechanism harder to operate, and grease in the mechanism may thicken.
Heat is less immediately obvious but also significant. Prolonged exposure to high temperatures can cause the weave to relax and the webbing to lose some of its dimensional stability. A strap stored in a closed vehicle in summer experiences higher temperatures than most users realise.
Chemicals and contamination
Oil, diesel, hydraulic fluid, acids, alkalis and solvents all affect webbing differently. Some cause immediate visible damage; others weaken the fibres without obvious external signs.
-
Oil and grease. Generally cause gradual degradation and can make the webbing slippery, reducing friction at contact points.
-
Acids and alkalis. Can attack the fibres rapidly. Any strap that has contacted battery acid or a strong cleaning agent should be retired.
-
Solvents. May dissolve coatings and weaken the weave. Even brief contact is a reason for careful inspection.
-
Salt water. Primarily affects the metal hardware rather than the webbing, causing corrosion on hooks, ratchets and springs.
A strap that has been contaminated should be cleaned according to the manufacturer's guidance and inspected carefully before reuse. If the contamination was aggressive or the strap shows any change in colour, texture or stiffness, replacement is the safer choice.
Inspection Routine, Retirement Criteria and Fleet Management
Inspection is only useful if it is consistent. A strap inspected once a year is a strap that may fail between inspections. The routines below are designed to fit into normal working practice rather than requiring a separate maintenance session.
The three-level inspection model
Pre-use check (seconds)
Run the strap through your hands as you unroll it. Look for obvious cuts, knots, twists, and contamination. Check that the ratchet operates through its full range and that the release works. This catches the majority of problems.
Detailed inspection (minutes)
Carried out weekly or after any unusual load. Inspect the full length of the webbing on both sides, the stitching at both ends, the hooks for cracks or deformation, and the ratchet mechanism for wear on the gear teeth and pawl.
Periodic review (documented)
Carried out on a schedule appropriate to usage, with results recorded. Tracks the age of each strap, the loads it has carried, and any incidents such as shock loads. Provides a basis for replacement decisions and for demonstrating compliance.
When a strap must be retired
| Condition | Why it matters | Action |
|---|---|---|
| Cut or frayed webbing, especially at the edges | Reduces the load-bearing cross-section and creates a stress concentration | Retire immediately; do not attempt repair |
| Exposed core fibres or visible weave separation | Indicates significant structural damage that cannot be assessed visually | Retire immediately |
| Stiffness, brittleness or colour change | Signs of chemical, heat or UV damage that weakens the fibres | Retire; the damage is not reversible |
| Damaged or missing stitching at loops or eyes | The stitched joint is the weakest point of the assembly | Retire; re-stitching is not a field repair |
| Cracked, bent or deformed hooks | The hardware may fail suddenly under load | Retire the strap or replace the fitting if the design allows |
| Ratchet that slips, skips teeth or will not lock | The mechanism cannot hold tension reliably | Retire or replace the ratchet assembly |
| Any strap that has experienced a shock load | Internal fibre damage may not be visible externally | Retire regardless of appearance |
Fleet storage and traceability
For operations running multiple vehicles, storage and traceability are as important as inspection. A strap that cannot be traced to its purchase date, its rating and its usage history is a strap that cannot be assessed objectively.
-
Store straps off the ground, in a dry location away from direct sunlight. Hanging or coiling loosely prevents creases from forming.
-
Keep straps separate from tools and sharp objects. A strap stored in a toolbox with spanners will develop cuts.
-
Label straps with a purchase date or a batch reference where practical. This makes age-based replacement decisions possible.
-
Record incidents. A strap involved in an incident should be identified and inspected before returning to service.
-
Standardise the straps used across a fleet so that replacement and compatibility are simple.
Regulatory Frameworks: What Different Regions Expect
Cargo securement rules vary between countries, and a strap that is acceptable in one market may not meet the requirements of another. For anyone transporting loads across borders or purchasing straps for international operations, knowing which framework applies is the starting point.
| Framework | Region | Focus |
|---|---|---|
| EN 12195-2 | Europe | Performance requirements for web lashing, including strength, marking and testing |
| WSTDA T-1 | North America | Recommended practice for synthetic web tie-downs, including design factors and labelling |
| AS/NZS 4380 | Australia and New Zealand | Load restraint requirements covering vehicle and load performance |
| FMCSA cargo securement rules | United States | Operational requirements for commercial vehicle loads, including performance criteria |
The frameworks differ in detail, but they share a common principle: the restraint system must be capable of withstanding forces that arise during normal transport, including emergency braking and cornering, with an appropriate margin. Selecting a strap with a clear working load marking and a recognised certification is the simplest way to stay within the requirements of most markets.
For operations that cross borders, standardising on certified straps with clear markings avoids the situation where a load is legal in one country and non-compliant in the next. It also simplifies the conversation with an inspector who may not be familiar with the specific hardware in use.
Custom Configurations and Manufacturing Options
Standard straps cover most applications, but there are situations where a custom configuration is the practical answer. Long loads, unusual anchor spacing, specific hook requirements, or a need for branded webbing all fall into this category.
What can be specified
Length
Straps are commonly supplied in standard lengths, but custom lengths allow a direct run to the anchor without excess tail. This reduces the amount of loose webbing that needs to be managed and eliminates the need to wrap or tie off the surplus.
Width and rating
Webbing width is tied to working load, and a custom configuration can match the width to the specific requirement rather than choosing from a small number of standard options.
End fittings
Hooks, loops, rings and chain extensions can be specified at either end, allowing the strap to match the anchor points on a specific vehicle or trailer.
Colour and marking
Custom webbing colours and printed markings help identify straps by application, vehicle or load type, which is useful in fleets where several different strap types are in circulation.
Custom configurations are most valuable where a standard strap almost fits but not quite. The extra tail on an over-length strap has to be managed, and a strap that is slightly too short forces the use of extensions that add connection points. Matching the length to the application removes both problems.
Testing and certification support
For buyers who need documented performance, manufacturing partners that can provide test data, certification references and consistent production standards make the purchasing decision simpler. A strap with a traceable production batch and a clear rating is easier to defend in an inspection than one with a stamped number and no supporting documentation.
Application Playbook: Strapping Different Load Types
Different loads demand different approaches. The physics is the same, but the practical arrangements differ enough that a playbook is useful.
Motorcycles and ATVs
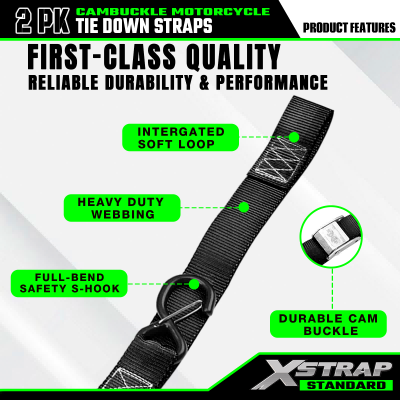
The front wheel should be chocked or held in a wheel dock before any strap is applied. Straps run from the handlebars or the lower triple clamp down and forward to anchor points, compressing the front suspension partially. A second pair of straps at the rear prevents lateral movement. Soft loops at the handlebar contact points protect paint and switchgear.
Do not compress the suspension fully. Leaving some travel allows the bike to move with the trailer rather than fighting it, and it prevents the fork seals from being loaded beyond their design.
Wheeled equipment and machinery
Restrain the wheels as well as the body. Wheel chocks or dedicated wheel straps prevent rolling, while body straps prevent vertical movement and lateral shift. On rubber-tyred equipment, the tyres provide useful friction, but they also allow some movement, so the straps need to accommodate that without going slack.
Where the machine has attachment points designed for lifting, these are often the best strap locations. Where it does not, wrapping around the lower chassis or the axle is preferable to wrapping around body panels.
Pallets and boxed goods
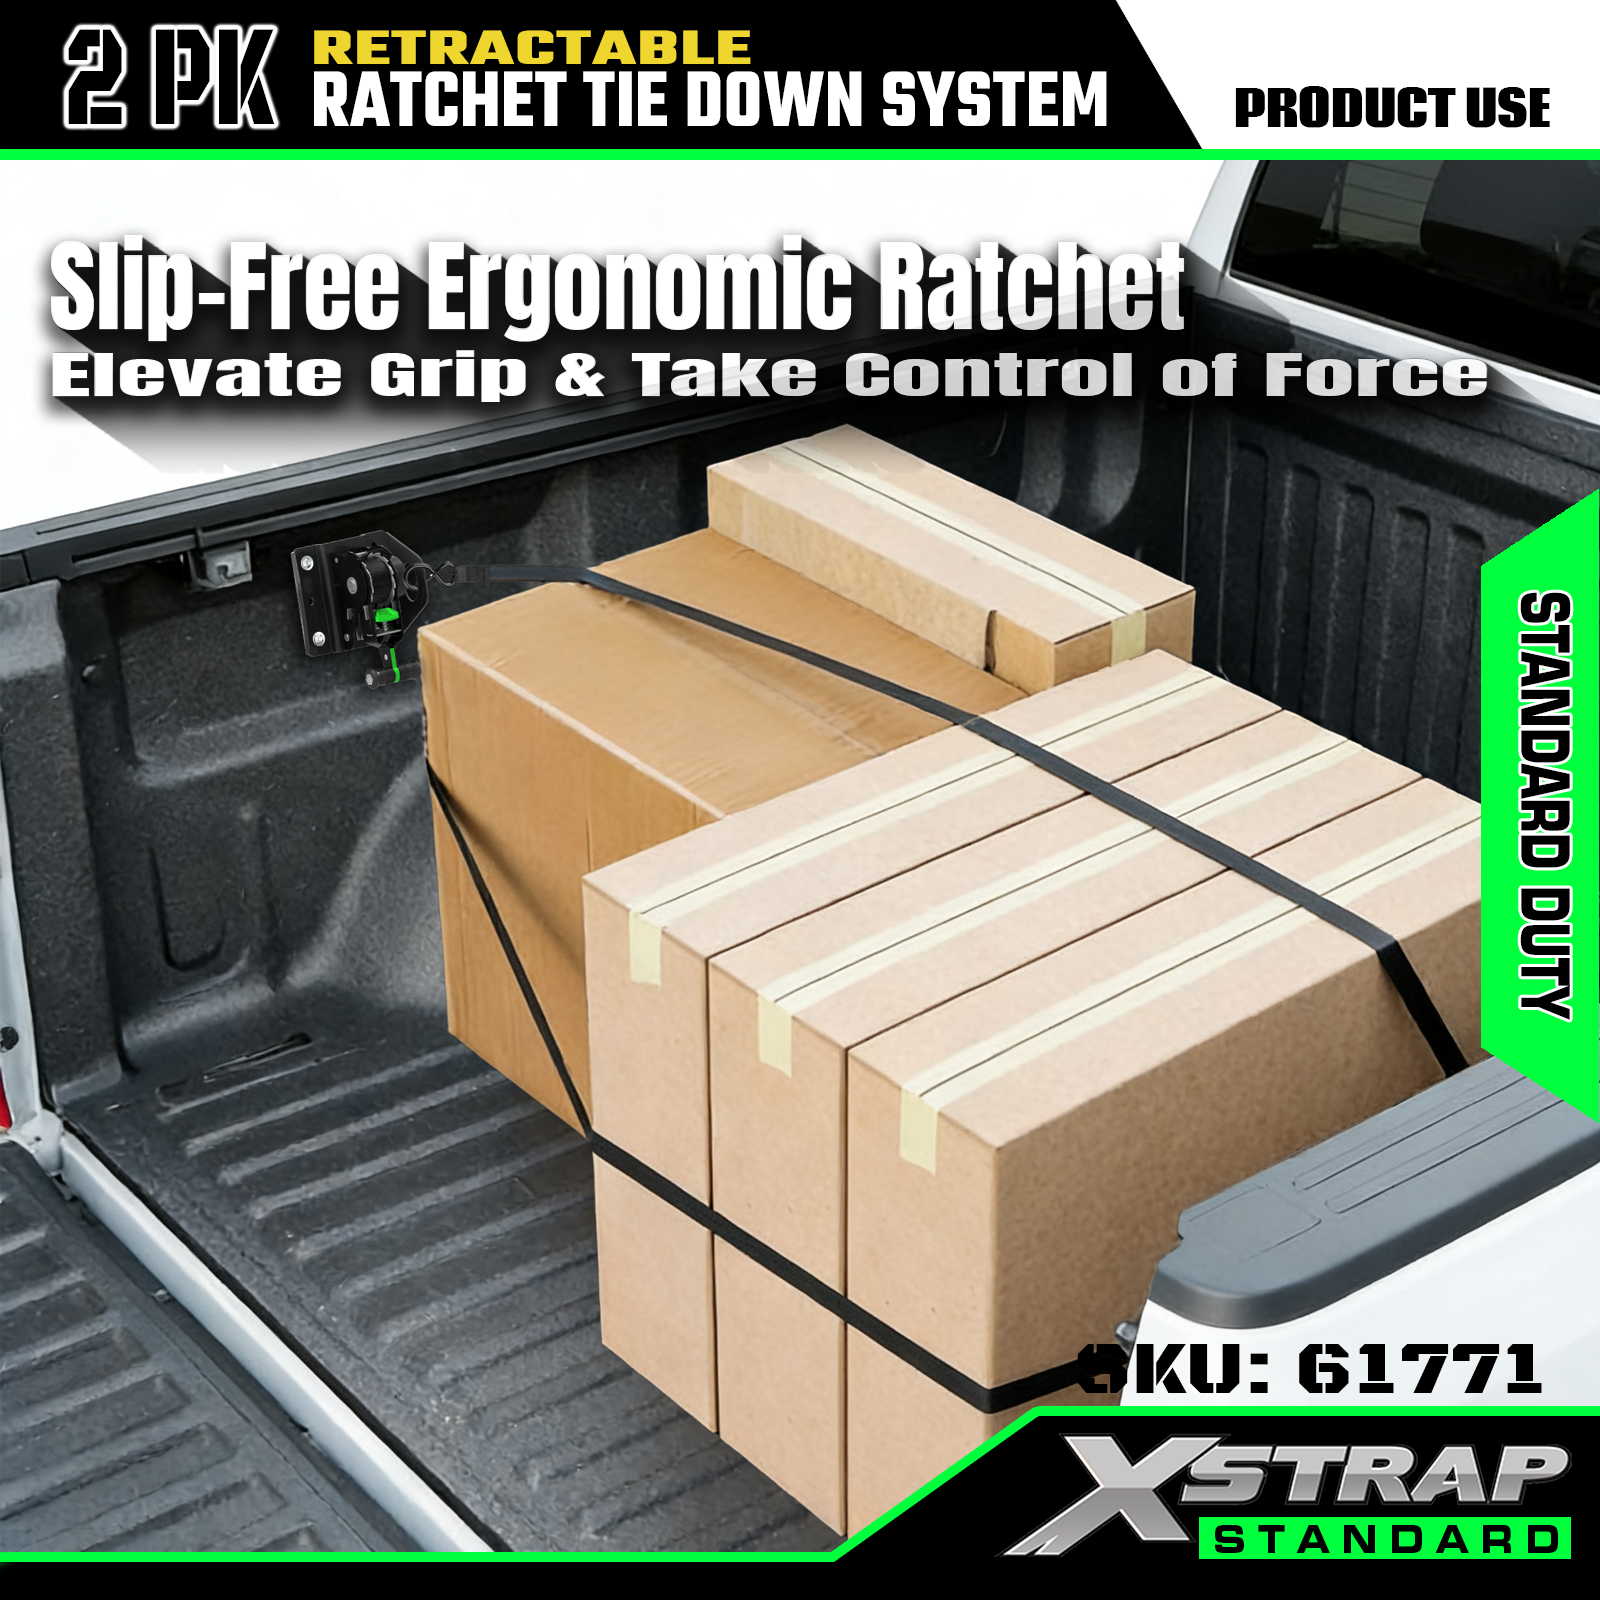
Pallets present a specific challenge: the load may shift within the pallet, and the pallet itself may slide on the deck. Wrapping straps over the top of the load and down to the deck anchors holds the pallet and its contents together. Anti-slip matting under the pallet is particularly effective here.
Where several pallets are loaded, strapping them as a group can be more effective than strapping each one individually, provided the group is stable and the straps pass over the whole assembly.
Long and irregular loads
Ladders, pipes, timber and other long items need restraint at multiple points along their length. Two straps close together in the middle will not prevent the ends from swinging. Straps should be positioned at roughly the quarter points and, for very long loads, at additional points along the length.
Where the load extends beyond the rear of the vehicle, additional requirements often apply, including marking and, in some jurisdictions, an escort or a following vehicle. These requirements are outside the scope of the strap itself but are part of the overall securement plan.
Common Questions About Strap Selection and Use
What is the difference between break strength and working load?
Break strength is the load at which the strap fails in a controlled test. Working load, sometimes called safe working load, is the maximum load the strap should be subjected to in normal use. The working load is typically a fraction of the break strength, and it is the number that should be used when planning a securement arrangement.
Can I use a strap that is longer than I need?
Yes, provided the excess is managed. A long tail should be folded back over the tightened webbing and secured, or kept in a retractable housing. A loose tail can flap, abrade against the deck or the load, and become a hazard to other road users.
How many straps do I need for a given load?
There is no single number. The requirement depends on the weight of the load, the angle of the straps, the friction between the load and the deck, and the direction of potential movement. As a working principle, more straps with lower individual tension is safer than fewer straps at high tension, and redundancy protects against a single strap failing.
Why do my straps loosen during transport?
Three causes are common. The webbing may have stretched slightly under load, which is normal for most fibres and settles after the first few kilometres. The cargo may have settled or shifted. Or the ratchet may not be locking correctly, which is a hardware fault rather than a tensioning issue. Checking tension after the first few kilometres is standard practice on any long journey.
Should I use a ratchet strap or a cam buckle strap?
Ratchet straps allow gradual, high-tension application and hold that tension without slipping. Cam buckle straps are faster to use but produce lower tension and can slip under vibration. For heavy loads, long journeys, or anything that will experience sustained vibration, a ratchet strap is the appropriate choice.
How do I know when a strap needs replacing?
Retire a strap if the webbing is cut, frayed, stiff, discoloured, or shows exposed core fibres. Retire it if the stitching is damaged, if the hooks are cracked or deformed, if the ratchet slips, or if the strap has experienced a shock load. When in doubt, replace. The cost of a strap is small compared with the consequences of a failed load.
Can straps be repaired?
Stitching repairs are not a field or workshop task that should be undertaken on a load-bearing strap. The stitched joint is engineered to a specific pattern and specification, and a repair that does not match it will not have the same strength. Retire and replace damaged straps rather than attempting to repair them.
What should I look for when buying straps in volume?
Look for clear working load markings, consistent webbing quality, a ratchet mechanism that operates smoothly across its full range, and documentation that supports the stated ratings. For fleet use, standardising on a small number of configurations simplifies replacement, training and inspection.
Does strap colour mean anything?
Colour is sometimes used to indicate a rating or a category, but this is not universal and varies between manufacturers and regions. The rating should always be confirmed from the label or the documentation rather than assumed from the colour of the webbing.
How long does a ratchet strap last?
Service life depends on usage, environment and storage. A strap used occasionally and stored indoors may last for years. A strap used daily in sunlight, rain and dust may need replacement within a single season. Regular inspection and retirement based on condition is more reliable than any fixed replacement interval.
Popular Products
Recent News
 How Do You Choose the Right Utility Tie Downs and Bungee Cords for Your Needs
Introduction
When it comes to securing your gear for transport, storage, or organization, Utility Tie Downs and Bungee Cords are essential tools. Whether you're hauling heavy loads...
 The Ultimate Guide to Ratchet Straps: Choosing, Using, and Maintaining Them
Introduction to Ratchet Straps
What Are Ratchet Straps?
Ratchet straps, also known as tie-down straps or cargo straps, are a type of load securement tool widely used in transportat...
 How Can Ratchet Tie Down Standard Duty Straps Ensure Safe and Reliable Cargo Securement
What Are Ratchet Tie Down Straps and Why Are They Important for Cargo Securement?
Introduction to Ratchet Tie Down Straps
Ratchet tie down straps are essential tools for anyone inv...
 What are Ratchet Straps and how do they help you transport your items safely
What Are Ratchet Straps?
Ratchet straps, also known as ratchet tie-downs or cargo straps, are heavy-duty fastening tools designed to secure items during transportation. They consis...
 How to Properly Use Light Duty Ratchet Tie Downs for Maximum Load Security
Understanding the Basics of Ratchet Tie Down Light Duty Straps
Ratchet tie-down straps are a critical tool in the transportation, storage, and securement of goods. They are used to...
-
 +86-18112697781qindan355@gmail.comNo. 21 Yuefeng Road, Yangshe Town, Zhangjiagang City, Suzhou City, Jiangsu Province
 -
Quick Links
Social Media
-
OEM Partner
-


Copyright © 2025 Zhangjiagang SMK MFG. Co., Ltd. All rights reserved.
 Wholesale Tension Strap Manufacturers
Wholesale Tension Strap Manufacturers