 English
 Français
 Español

Home / News / Industry News / How to Use a Ratchet Strap Safely: Are You Loading Your Tie-Downs Correctly
How to Use a Ratchet Strap Safely: Are You Loading Your Tie-Downs Correctly
2026-03-19
Section 1: Core Construction and Mechanics of Ratchet Straps
Before diving into how to assemble a ratchet strap, it is essential to master its precise design and construction. A comprehensive ratchet strap guide typically divides the system into three core parts: the ratchet mechanism (handle), the webbing, and the end hardware (hooks).
Ratchet Strap Components
The ratchet mechanism is the "heart" of the entire system, responsible for generating and maintaining immense tension.
Pawl: This is a spring-loaded metal lever that engages with the gear teeth, ensuring the webbing can only be cranked in one direction and preventing accidental kickback.
Mandrel: Located at the center of the ratchet, featuring a slot that runs through it. This is the critical area for how do you feed a ratchet strap correctly.
Gear/Sprocket: Determines the precision of tensioning. High-density gears allow for finer adjustments to the tension.
Release Lever: When you need to unload cargo, pulling this lever retracts the pawls, allowing the mandrel to rotate freely.
Lashing Ratchet Straps Materials and Craftsmanship
The webbing of lashing ratchet straps is typically made from high-tenacity polyester.
Low Stretch Rate: Unlike nylon, polyester has a very low stretch rate under load (usually less than 3%), which means cargo will not shift due to webbing loosening during long-distance transport.
Weather Resistance: High-quality webbing features UV and water resistance to prevent fiber degradation in sunlight or rain.
Reinforced Stitching: The connection point between the webbing and the hook uses computer-controlled box stitching, which is a key factor in determining its break strength.
Performance Parameter Comparison
Understanding the ratchet strap usage for different sizes is vital for safe transportation. Below is a technical parameter comparison table for mainstream specifications:
| Specification (Width) | Working Load Limit (WLL) | Max Break Strength (BS) | Typical Application Scenarios |
|---|---|---|---|
| 1 inch ratchet strap | 300 - 1,000 lbs | 900 - 3,000 lbs | Bicycles, roof racks, light DIY |
| 1.5 ratchet straps | 1,500 - 2,000 lbs | 4,500 - 6,000 lbs | Lawnmowers, medium motorcycles, ATVs |
| 2 inch ratchet straps | 3,333 lbs | 10,000 lbs | Professional hauling, car transport, flatbeds |
| 4 ratchet strap | 5,400 - 6,600 lbs | 16,200 - 20,000 lbs | Heavy equipment ratchet straps, construction, steel |
Key Terminology
Working Load Limit (WLL): The maximum weight the strap is designed to support during regular use.
Break Strength (BS): The point at which the strap fails under experimental conditions. Typically, WLL is 1/3 of the BS.
The Specifics of 1 inch ratchet strap strength
In light-duty applications, 1 inch ratchet strap strength varies significantly. While they appear small, industrial-grade 1-inch straps can reach a break strength of up to 3,000 lbs. A common mistake is confusing "supermarket/home grade" with "industrial grade." Industrial straps have thicker webbing and heat-treated metal parts, which directly affects reliability in extreme conditions.
Heavy Equipment Ratchet Straps Requirements
For machinery like excavators or bulldozers, heavy equipment ratchet straps must be used. These straps are usually 3 or 4 inches wide and equipped with reinforced chain anchors.
Wear Sleeves: Webbing often includes sliding sleeves to prevent sharp metal edges from cutting the strap.
Double Pawl Design: Provides double safety locking protection to prevent failure of a single mechanical structure.
Section 2: Operation Guide—How to Properly Assemble and Load
In practical operation, the correct way to use a ratchet strap is the core of cargo safety. Many beginners, when faced with loose components, do not know how to assemble a ratchet strap. Incorrect assembly leads to poor operation and potential breakage.
Assembly and Feeding Steps (How to Assemble and Feed)
Assembling a ratchet strap involves more than just a connection; it requires the correct positioning of the mandrel.
Preparation: First, pull the release lever on the handle and open the ratchet completely (180 degrees) until the slot in the mandrel is facing up.
Feeding the Web (How do you feed a ratchet strap): Take the free end of the webbing (the end without a hook) and feed it through the center slot of the mandrel from the bottom of the ratchet.
Pulling Through: Once the webbing is through the slot, pull it back over the incoming webbing. At this stage, pull the excess webbing through so the strap is relatively snug against the load.
Loading the Spool (How do you load a ratchet strap): Before you start cranking the handle, the key to how do you load a ratchet strap is to ensure you don't leave too much slack. You only need about 2-3 full wraps of webbing around the mandrel to create enough friction. Excessive wraps will cause the ratchet to jam.
Hooking and Anchoring (How to Hook Up)
How to hook up a ratchet strap directly relates to the stability of the anchor points.
Finding Anchor Points: You must hook onto solid metal parts of the vehicle or container, such as D-rings, rails, or chassis beams. Never hook onto thin plastic or easily deformed aluminum plates.
Hook Direction: Ensure the hook opening faces toward the center of the anchor point to avoid "tip loading," where pressure is concentrated only on the very tip of the hook.
Eliminate Twists: Before tensioning, check that the entire lashing ratchet straps length is flat. Twisted webbing significantly reduces ratchet strap strength.
Physical Limit Comparison across Specifications
| Specification Type | Recommended Max Wraps | Force Required for Tensioning | Compatible Hardware |
|---|---|---|---|
| 1 inch ratchet strap | 3-4 layers | Low (Easy manual operation) | S-Hook / Press Buckle |
| 1.5 ratchet straps | 2-3 layers | Medium (Requires firm grip) | Double J-Hook |
| 2 inch / 4 inch | 2 layers | Very High (Often requires long handles) | Flat Hook / Chain Hook |
Correcting Usage Habits (Ratchet Strap Usage)
Proper ratchet strap usage includes managing excess webbing.
Managing Slack (Ratchet Strap Excess Holder): Allowing excess webbing to flap in the wind can damage the strap. Use a ratchet strap excess holder or a simple folding method to secure the slack to the tensioned strap.
Avoiding Edge Cuts: When encountering sharp cargo edges, corner protectors must be used. Even heavy duty ratchet straps can be cut like paper by sharp metal or wooden corners.
Heavy Equipment Logistics
For large machinery, the rules for heavy equipment ratchet straps are even stricter.
Multi-Point Support: Regulations often require at least four independent tie-down points for equipment over 10,000 lbs.
Cross-Tie Method: To prevent lateral movement, use an "X" pattern when performing how to hook up a ratchet strap.
Section 3: Types and Advanced Selection
Choosing the right tool for specific transport tasks is essential. Different types of ratchet straps are designed to match specific anchor hardware and load requirements.
Terminal Hardware Classification
| Hook Type | Design Features | Best Scenario | Safety Advantage |
|---|---|---|---|
| S-Hook | Simple S-shape, often vinyl coated | 1 inch ratchet strap, pickups | Coating prevents scratches. |
| Double J-Hook | Two wires bent into a J-shape | 1.5 ratchet straps, utility trailers | Can hook onto narrow edges. |
| Flat Hook | Wide, flat metal structure | 4 ratchet strap, flatbed trailers | Distributes stress evenly. |
| Snap Hook | Includes an automatic spring gate | Car hauling, high vibration | Prevents accidental unhooking. |
| E-Track Fitting | Designed for interior cargo rails | Box trucks, enclosed vans | Quick locking and adjustable. |
Selecting Straps by Load
The width of different types of ratchet straps determines tensile strength. When looking for heavy duty ratchet straps for sale, match the load:
1 inch (25mm): Ideal for home use and light hauling.
1.5 inch to 2 inch (38mm - 50mm): The "workhorse" of industrial logistics.
3 inch to 4 inch (75mm - 100mm): Specifically for heavy equipment ratchet straps like excavators or large steel coils.
Special Functional Straps
Endless Loop Straps: These have no hooks. Ratchet strap usage involves wrapping the strap around cargo and feeding it back into the ratchet.
Retractable Ratchet Straps: Like a tape measure, these automatically retract excess webbing, solving the need for a ratchet strap excess holder.
Industrial Safety Standards (Safety and Inspection)
Tag Integrity: Regulations require straps to have permanent tags indicating the WLL. If the tag is missing, the strap must be retired.
Damage Criteria:
Cuts/Abrasion
A cut exceeding 10% of the webbing width can reduce strength by over 50%.
Heat Damage
Brittle or melted fibers (from exhaust heat) require immediate disposal.
Section 4: FAQ and Professional Knowledge
This final section of the ratchet strap guide addresses common pain points in ratchet strap usage.
FAQ
Q: My ratchet is jammed and won't move. What should I do?
Analysis: Usually caused by too much webbing on the mandrel (violating how do you load a ratchet strap guidelines) or corrosion.
Solution: Pull the release lever and force the handle to the 180-degree open position. Use a lubricant and pliers to pull the webbing out while the lever is engaged.
Prevention: Always pull excess slack through before cranking.
Q: Can I use a ratchet strap as a tow strap?
Answer: Absolutely not. Even a 4 ratchet strap is made of polyester, which has low stretch. Towing requires high-stretch nylon kinetic ropes to absorb shock. A ratchet strap will snap or the metal mechanism will fly off dangerously.
Q: How do I handle excess strap after tightening?
Excess Management: Use a ratchet strap excess holder or zip ties to fold and secure the slack. Flapping webbing causes "whip effect" damage.
Technical Insight: WLL vs. BS
| Term | Full Name | Definition | Safety Factor |
|---|---|---|---|
| WLL | Working Load Limit | Max weight for daily use. | 1 (Base) |
| BS | Break Strength | Point of physical failure. | 3 (3x WLL) |
The 3:1 factor accounts for dynamic loads, such as sudden braking or hitting bumps, ensuring your 1.5 ratchet straps or larger don't reach their breaking point during impact.
Environmental Maintenance
UV Degradation: Faded colors indicate a significant drop in ratchet strap strength.
Moisture: Ensure lashing ratchet straps are dry before storage to prevent mildew.
Lubrication: Regularly apply a dry Teflon spray to the moving gears of the ratchet mechanism.
Storage Tips: Store straps in a cool, dry place. Roll the webbing neatly and use an old sock or specialized bag to protect the ratchet head from damage and debris.
Popular Products


Recent News
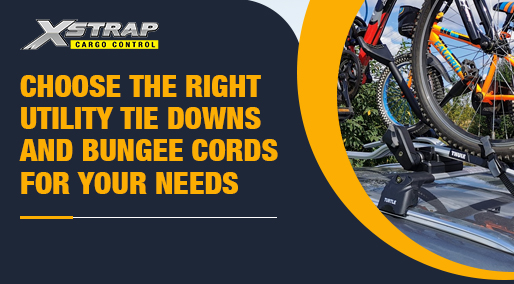 How Do You Choose the Right Utility Tie Downs and Bungee Cords for Your Needs
Introduction
When it comes to securing your gear for transport, storage, or organization, Utility Tie Downs and Bungee Cords are essential tools. Whether you're hauling heavy loads...
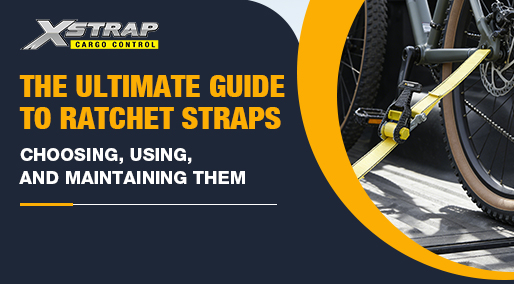 The Ultimate Guide to Ratchet Straps: Choosing, Using, and Maintaining Them
Introduction to Ratchet Straps
What Are Ratchet Straps?
Ratchet straps, also known as tie-down straps or cargo straps, are a type of load securement tool widely used in transportat...
 How Can Ratchet Tie Down Standard Duty Straps Ensure Safe and Reliable Cargo Securement
What Are Ratchet Tie Down Straps and Why Are They Important for Cargo Securement?
Introduction to Ratchet Tie Down Straps
Ratchet tie down straps are essential tools for anyone inv...
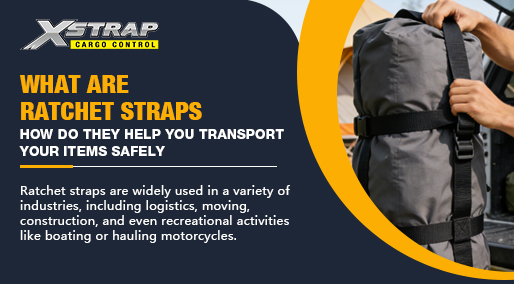 What are Ratchet Straps and how do they help you transport your items safely
What Are Ratchet Straps?
Ratchet straps, also known as ratchet tie-downs or cargo straps, are heavy-duty fastening tools designed to secure items during transportation. They consis...
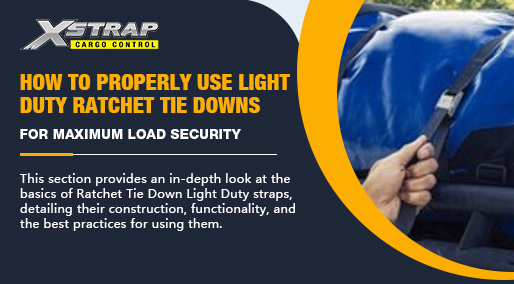 How to Properly Use Light Duty Ratchet Tie Downs for Maximum Load Security
Understanding the Basics of Ratchet Tie Down Light Duty Straps
Ratchet tie-down straps are a critical tool in the transportation, storage, and securement of goods. They are used to...
-
 +86-18112697781qindan355@gmail.comNo. 21 Yuefeng Road, Yangshe Town, Zhangjiagang City, Suzhou City, Jiangsu Province
 -
Quick Links
Social Media
-
OEM Partner
-


Copyright © 2025 Zhangjiagang SMK MFG. Co., Ltd. All rights reserved.
 Wholesale Tension Strap Manufacturers
Wholesale Tension Strap Manufacturers